
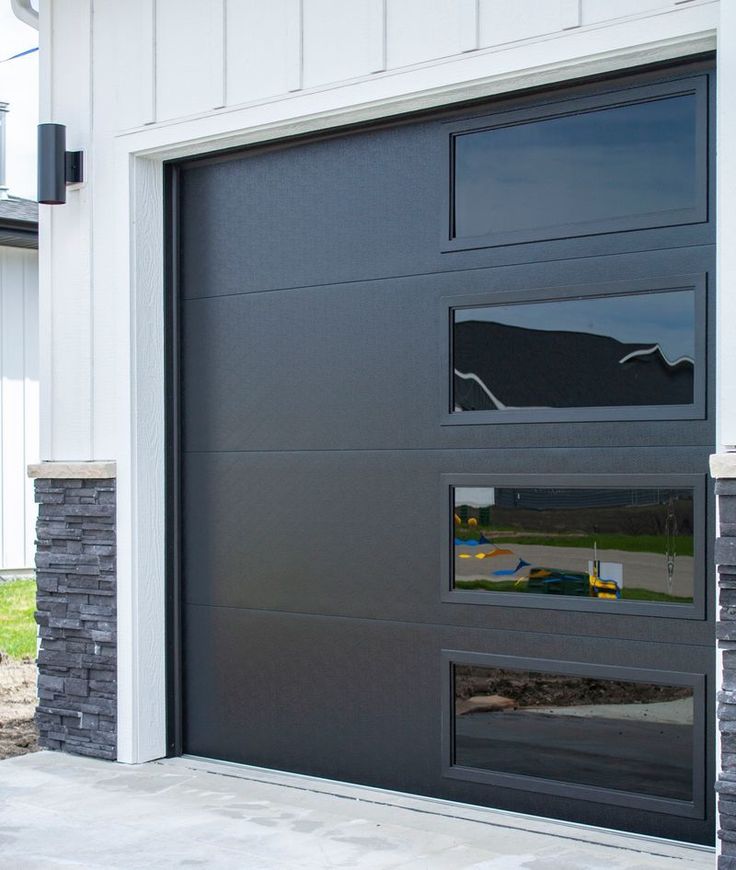
Being a homeowner, I’ve come to realize the importance of understanding the various components that keep my house running smoothly. One of these components is the garage door – a significant part of our daily lives that demands attention and maintenance. Garage door cables, in particular, play a critical role in its operation, and learning how to replace them has been a valuable skill in my DIY toolkit.
In this guide, I’ll take you through the step-by-step process from Garage Door Repair Trophy Club TX of mastering the art of garage door cable replacement, complete with safety precautions that can’t be ignored.
Step 1: Safety First
Before I even think about grabbing my tools, safety always comes first. I ensure I’m well-equipped with gloves and safety glasses, guarding myself against potential accidents. Additionally, disconnecting the garage door opener from its power source is a must – the last thing I want is the door springing to life unexpectedly.
Step 2: Gather the Required Tools
Any successful project begins with having the right tools at hand. Wrench, pliers, winding bars, locking pliers, and a sturdy ladder are essential companions for this task. I’ve learned that having a second pair of hands, preferably a friend, can make a world of difference when dealing with heavy garage door cables.
Step 3: Release Tension from the Springs
I’ve read enough cautionary tales to understand the danger of working with tightly wound garage door springs. So, my first step is always releasing the tension from these springs. I insert a winding bar into a hole on the winding cone and carefully release the tension, following the manufacturer’s guidelines meticulously.
Step 4: Remove the Old Cables
With the springs safely unwound, I turn my attention to the old cables. I detach them from the bottom brackets and pulleys, ensuring I keep track of each step. Up next are the cable drums at the top of the door; I unwind the cables from these drums and gently slide them out from the bottom brackets.
Step 5: Install the New Cables
Installing the new cables requires precision. I start by sliding the new cables through the bottom brackets and securing them firmly. The cable drum comes next – winding the cables around it evenly is key. This is where having that extra pair of hands comes in handy, as balancing tension and alignment can be a bit tricky.
Step 6: Reattach the Cables to the Springs
With the cables in place, I carefully reattach them to the garage door springs. Locking pliers help me secure the cables temporarily, preventing any accidental slips while I move on to the next step.
Step 7: Wind the Springs
Winding the springs is perhaps the most challenging part of the process. Armed with my winding bars, I slowly wind the springs, restoring the necessary tension. It’s a trial-and-error process, and I’m not afraid to seek professional advice if I’m unsure about the tension level.
Step 8: Test the Door
The moment of truth arrives as I reconnect the garage door opener to the power source. I operate the door several times, closely observing its movement. A smoothly opening and closing door assures me that my hard work has paid off.
In conclusion, according from Garage Door Repair Trophy Club TX, mastering the art of garage door cable replacement has given me a sense of accomplishment and a newfound confidence in tackling home maintenance tasks. While it requires patience, attention to detail, and respect for safety measures, the rewards are evident in the form of a well-functioning garage door. If any part of the process feels overwhelming, I’ve learned that seeking help from a professional technician is a smart move to ensure the job is done right and to avoid potential mishaps.
Trophy Club Overhead & Garage Doors
2412 Trophy Club Dr, Trophy Club, TX 76262, United States
817-646-5315
Leave a Reply