Local Services in Texas

Month: July 2023 Page 1 of 6

From Installation to Repairs: Understanding the Role of Garage Door Professionals – Hesperia Overhead & Garage Doors

As a homeowner who recently had the opportunity to work with garage door professionals, I have gained a newfound appreciation for the essential role they play in maintaining this crucial part of my home. From installation to repairs and everything in between, their expertise has been invaluable in ensuring my garage door operates smoothly and safely.

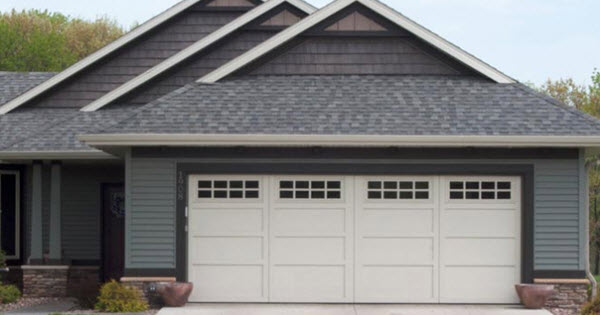
According from Garage Door Near Me, when it was time to replace my old garage door, I decided to seek the assistance of garage door professionals for the installation. Their attention to detail and precision during the process impressed me. From accurately measuring the space to selecting the perfect door size and style that complemented the architecture of my home, their guidance made the installation seamless. Witnessing their expertise in action, I felt confident that my garage door was in the hands of capable professionals.

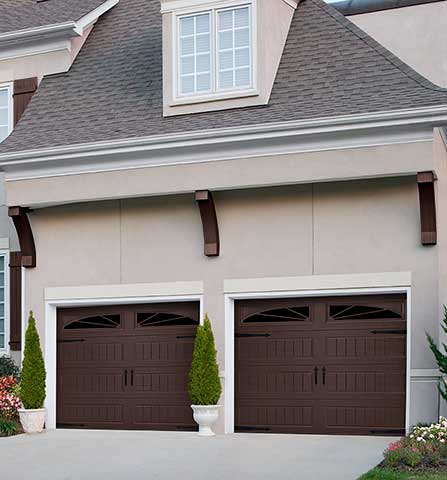
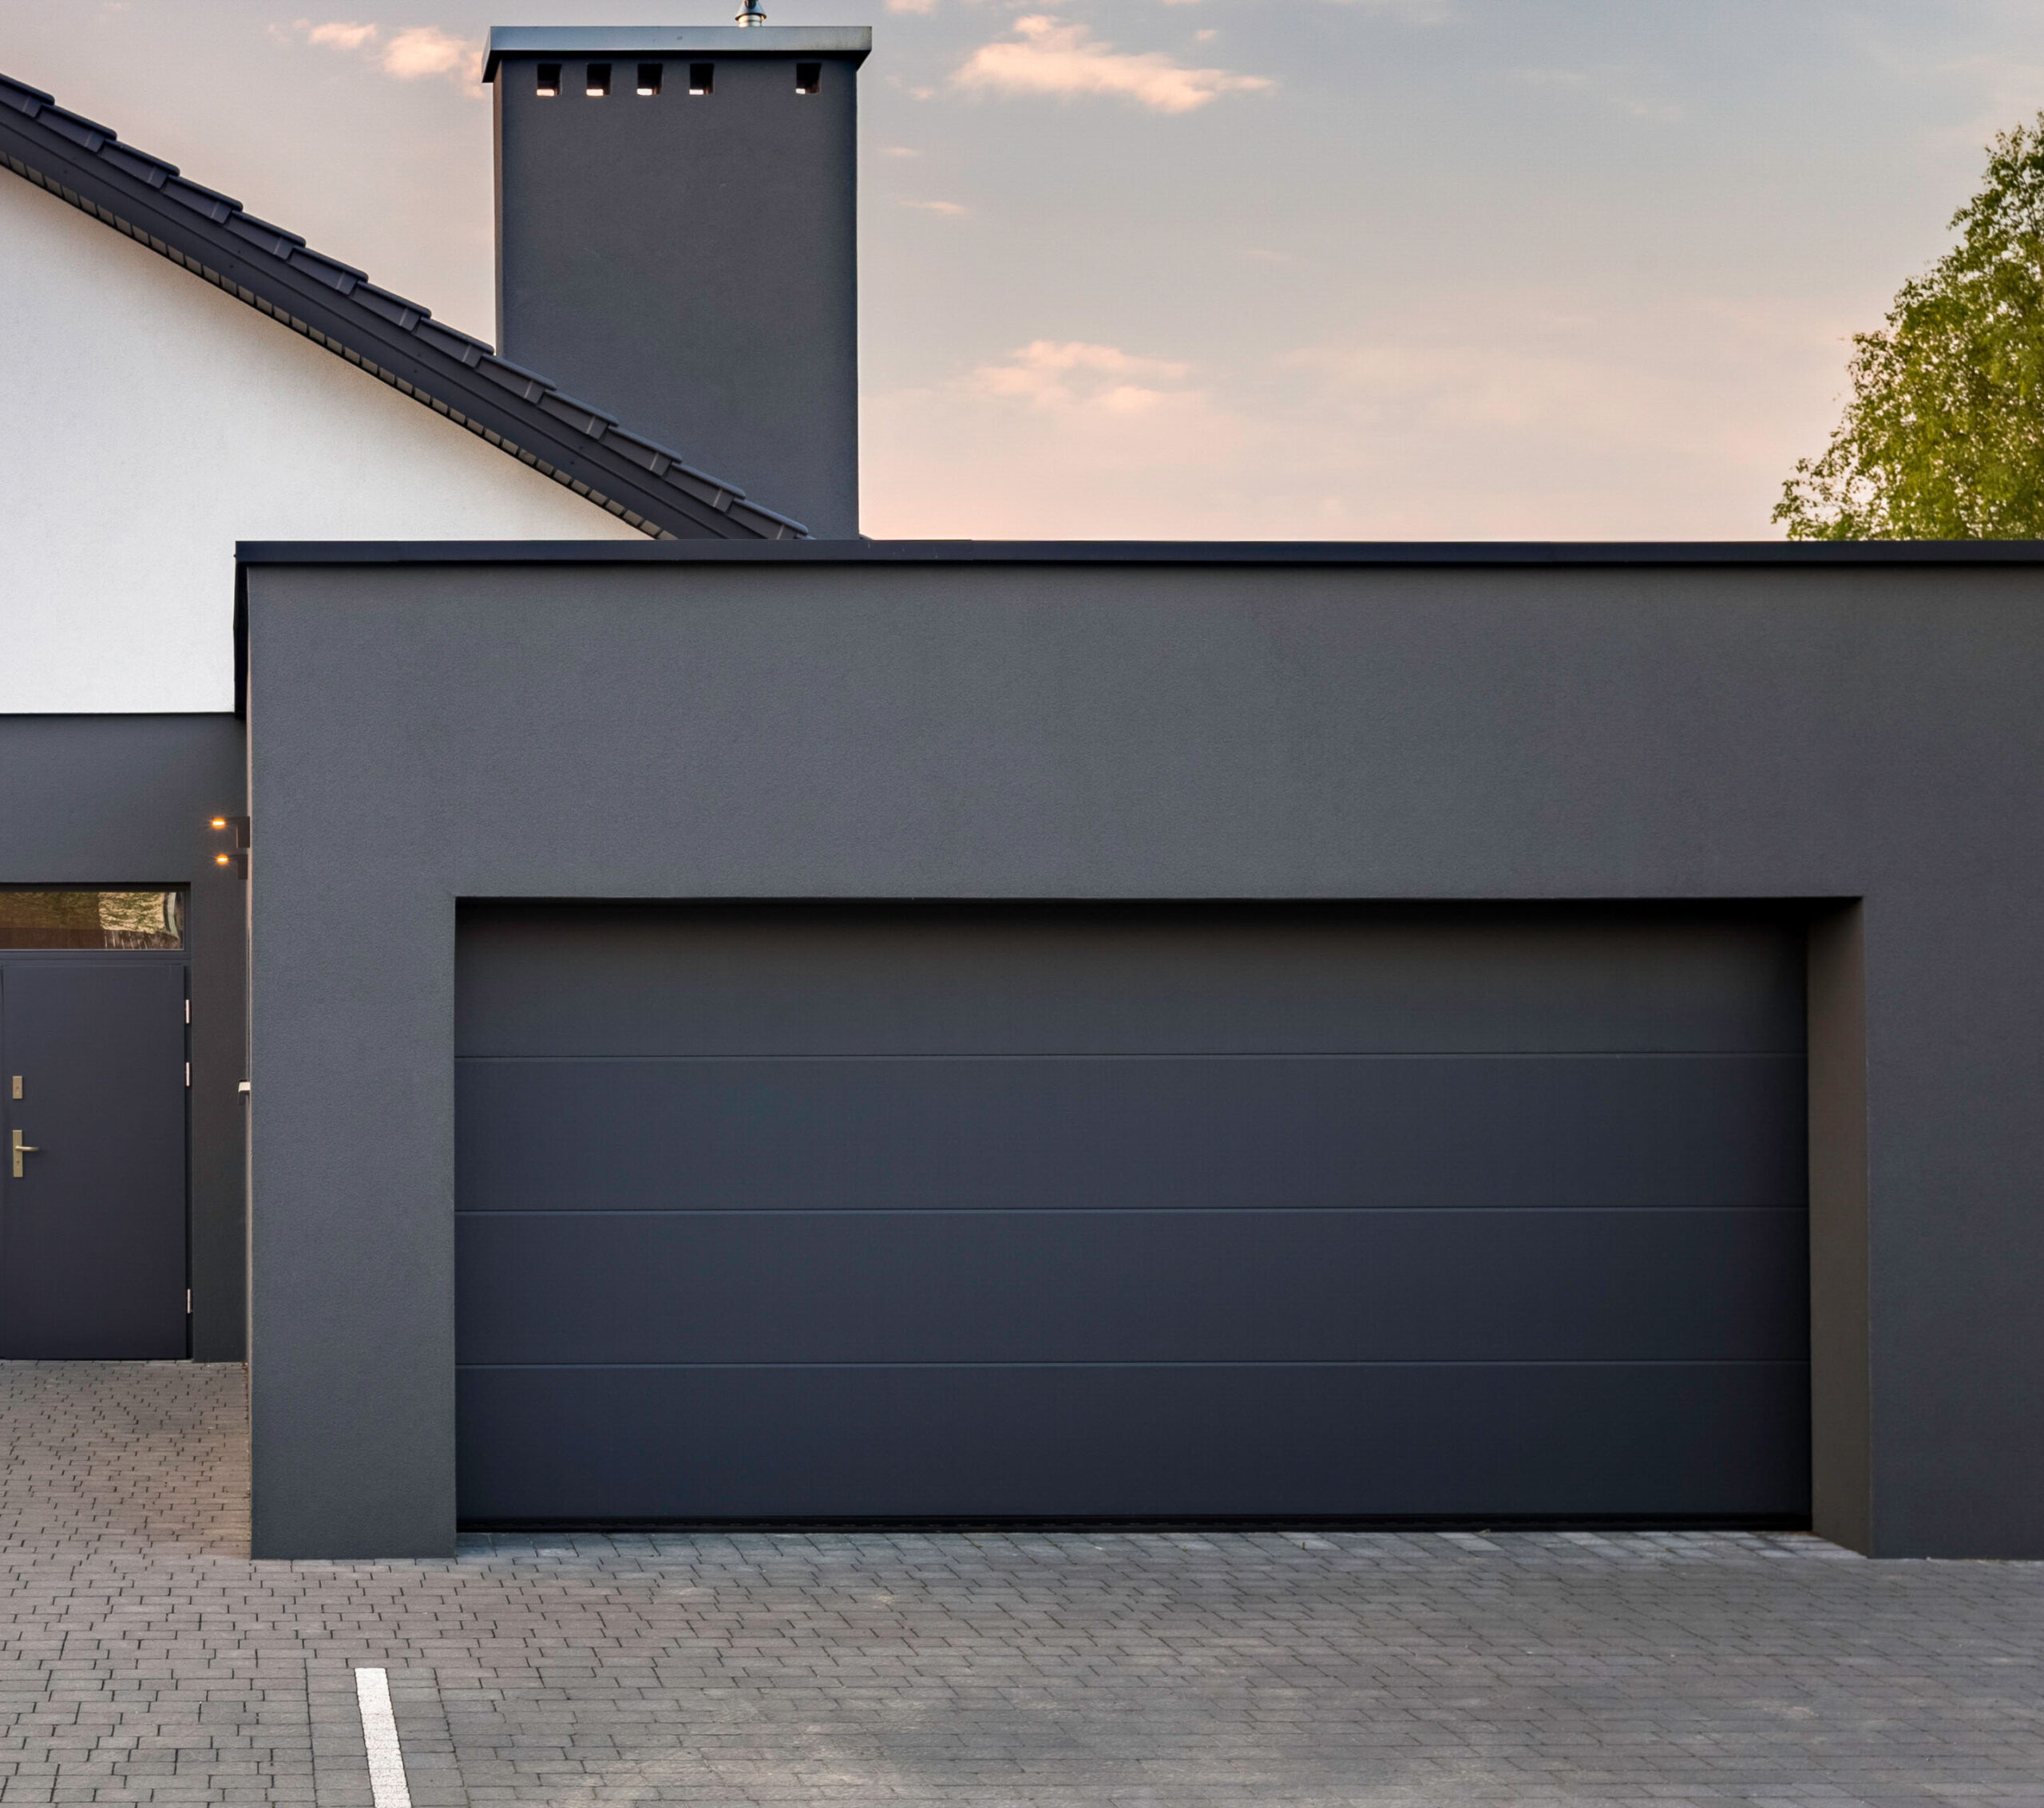
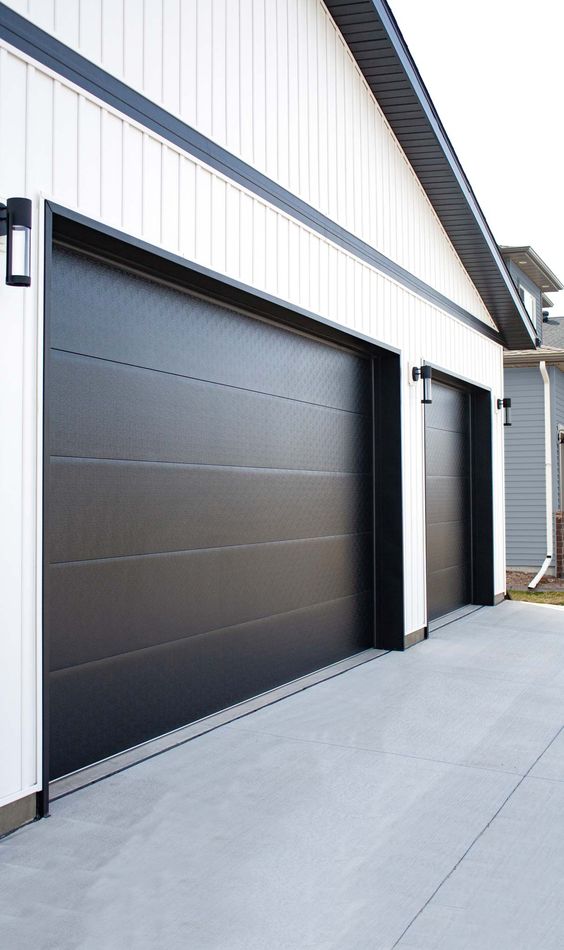
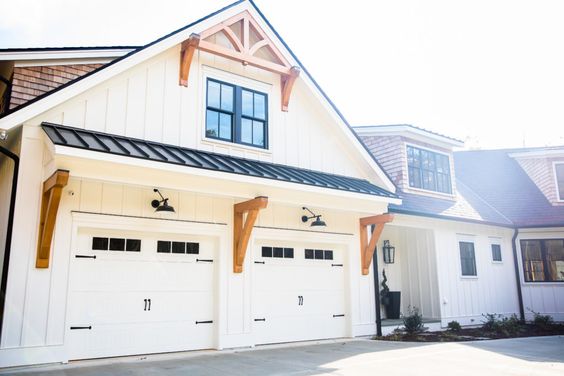
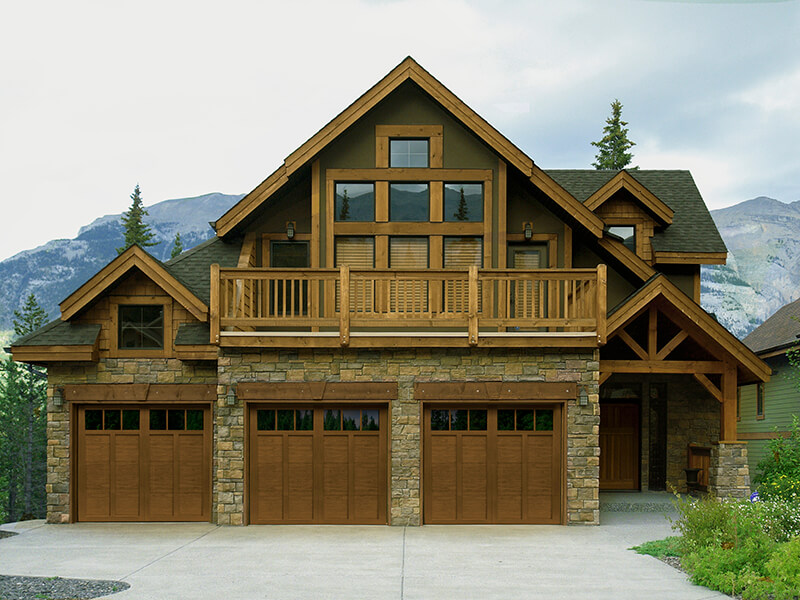
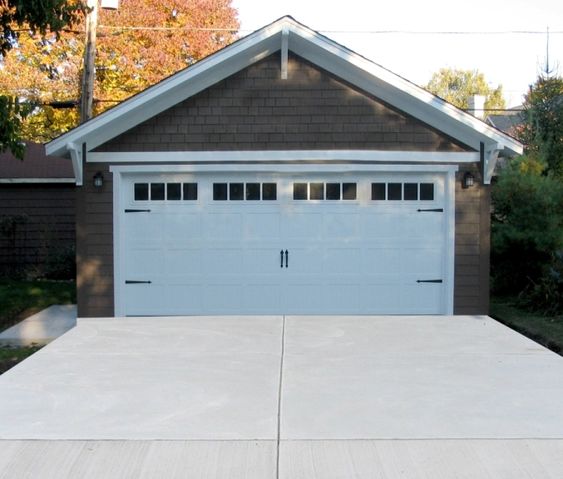
What struck me most was their extensive knowledge in helping me choose the right garage door for my home. With so many styles, materials, and features to choose from, I was overwhelmed. However, the garage door professionals patiently walked me through the options, considering factors like local weather conditions and insulation requirements. With their insights, I was able to make an informed decision, ultimately selecting a garage door that perfectly matched my needs and preferences.

Throughout the process, I realized that garage door professionals go beyond mere installation; they are skilled troubleshooters and maintenance experts. They provided me with valuable maintenance tips, such as lubricating moving parts regularly and visually inspecting the door for signs of wear. These proactive steps can help me detect potential issues early on, ensuring the longevity and optimal performance of my garage door.

One aspect that fascinated me was their expertise in handling garage door springs. They explained the significance of properly balanced springs in ensuring smooth door movement and safety. Given the potential dangers associated with springs, I was grateful to have professionals who knew how to adjust and replace them safely and efficiently.

Garage door professionals also emphasized the importance of track alignment for smooth door operation. They skillfully aligned the tracks, preventing any future jamming issues I had experienced in the past. Their precision in this task greatly improved the overall performance of my garage door, making it much quieter and efficient.

I was also impressed by their proficiency in garage door openers. They helped me troubleshoot some minor issues with my opener and programmed my remote controls for seamless operation. Knowing that my garage door opener was handled by professionals gave me peace of mind regarding my home’s security.

Another crucial aspect they addressed was weatherproofing and insulation. They installed weather seals around the door’s perimeter, keeping my garage protected from drafts, moisture, and pests. Additionally, their expert insulation solutions regulated the garage’s temperature and reduced energy costs, making the space more comfortable and energy-efficient.

Safety is a top priority for garage door professionals, and I appreciated their meticulous calibration of safety sensors. Ensuring that the sensors detected obstructions and reversed the door’s movement provided an extra layer of security for my family and me. They also shared safety best practices, which further reassured me of their commitment to ensuring my garage door was safe to use.

During the installation process, they even took the time to educate me on the operation and maintenance of my new garage door. Their dedication to not only providing top-notch service but also empowering homeowners with knowledge was evident throughout our interactions.

In times of unexpected emergencies, the availability of 24/7 emergency support was a great relief. When my garage door spring unexpectedly broke, the garage door professionals promptly responded and provided immediate assistance. Their quick response allowed me to get my garage door functioning again, preventing any further inconvenience or safety hazards.

In conclusion, as per Garage Door Near Me, my experience with garage door professionals has been nothing short of exceptional. Their expertise, dedication, and attention to detail have made a significant difference in the performance and safety of my garage door. From the installation process to offering valuable maintenance tips, they have been reliable partners in ensuring my garage door remains in top shape. I can confidently say that having garage door professionals handle my garage door has been one of the best decisions I’ve made as a homeowner.

Hesperia Overhead & Garage Doors

18361 Bear Valley Rd # 4, Hesperia, CA 92345, United States

760-990-1054

How To Repair A Garage Door Opener Remote – Torrey Pines Garage & Overhead Doors

A malfunctioning Garage Door Repair La Jolla CA opener remote can be frustrating and inconvenient. However, before you rush to replace it, there are several troubleshooting steps you can follow to repair it yourself.

This guide will take you through a step-by-step process of identifying common issues and fixing your garage door opener remote, saving you time and money.

Step 1: Check the Batteries

The most common cause of a non-working garage door opener remote is depleted batteries. Start by opening the remote’s battery compartment and replace the old batteries with fresh ones. Ensure they are inserted correctly, and the contacts are clean. Test the remote to see if it’s now functioning. If not, proceed to the next step.

Step 2: Inspect the Remote’s Circuitry

Next, examine the remote’s circuit board for any visible damage, such as loose components, burnt spots, or broken connections. Use a magnifying glass to get a closer look. If you identify any issues, you might need to solder or replace the damaged parts. For those unfamiliar with circuitry, it is advisable to seek assistance from a professional or consider purchasing a new remote.

Step 3: Clean the Contacts

Over time, dirt and debris can accumulate on the contacts of the remote and the garage door opener itself. Gently clean both the contacts on the remote and the corresponding ones on the opener using a soft cloth and some isopropyl alcohol. This can improve connectivity and resolve unresponsiveness.

Step 4: Reprogram the Remote

If cleaning the contacts doesn’t work, the remote might have lost its programming. Refer to your garage door opener’s user manual for instructions on how to reprogram the remote. Typically, this involves pressing specific buttons on the opener and the remote simultaneously. Follow the steps carefully to establish a connection between the two devices.

Step 5: Check for Interference

Sometimes, external devices or radio signals can interfere with the operation of your garage door opener remote. Look for any new electronic devices or wireless systems that may have been recently installed near the opener or remote. Turn off these devices temporarily to see if it resolves the issue. Additionally, ensure that there are no obstacles blocking the signal path between the remote and the opener.

Step 6: Replace the Remote’s Antenna

If you’ve tried all the above steps and the remote is still not functioning correctly, it might be due to a damaged antenna. Some remotes have an external antenna that can be replaced. Purchase a compatible antenna and follow the manufacturer’s instructions to install it properly.

Step 7: Consider a Universal Remote

If your efforts to repair the original remote prove unsuccessful, consider using a universal garage door opener remote. These remotes can work with various opener models and brands, offering a viable alternative if your original remote cannot be fixed.

Conclusion:

Repairing a Garage Door Repair La Jolla CA opener remote can often be a straightforward process that saves you money on a replacement. By following the steps outlined in this guide, you can identify and fix common issues affecting the remote’s functionality. However, if you encounter more complex problems or feel unsure about performing the repairs yourself, it’s always best to consult a professional to ensure safe and effective resolution. With a properly functioning remote, you’ll enjoy the convenience and security of a smoothly operating garage door once again.

Torrey Pines Garage & Overhead Doors

8980 Villa La Jolla Dr #5, La Jolla, CA 92037, Estados Unidos

858-207-4777

How To Measure Garage Door Seal – Carlsbad Garage & Overhead Doors

Measuring a Garage Door Repair Carlsbad CA seal is a straightforward process that requires attention to detail and accuracy. A properly measured garage door seal ensures a tight fit, which effectively keeps out dust, debris, pests, and even unwanted drafts, saving energy and protecting the contents of your garage.

This guide will walk you through the steps to measure your garage door seal properly.

Before you start, gather the necessary tools and materials. You’ll need a measuring tape, a pen or pencil, paper or notepad, and access to the garage door you want to seal. It’s essential to use a flexible measuring tape for precise measurements.

Step 1: Clean and inspect the garage door: Begin by cleaning the area around the garage door where the seal will be installed. Remove any debris, dirt, or old seal remnants. Check for any damages or irregularities that might affect the seal’s performance, such as dents or warping.

Step 2: Determine the type of seal needed: Garage door seals come in various types, including bottom seals, weatherstripping, and side seals. Identify the type of seal you require based on your garage door’s design and needs. For most residential garage doors, you’ll typically measure the bottom seal, as it is the most common type.

Step 3: Measure the width of the garage door opening: Start by measuring the width of the garage door opening. Stand inside the garage and measure the distance between the left and right sides of the door frame. Place the tip of the measuring tape against one side of the frame and extend it to the opposite side. Write down the measurement in inches or centimeters.

Step 4: Measure the height of the garage door opening: Next, measure the height of the garage door opening. Stand inside the garage and measure the distance from the floor to the top of the door frame. Place the tip of the measuring tape at the bottom and extend it vertically to the top of the frame. Write down the measurement in inches or centimeters.

Step 5: Measure the thickness of the garage door: To ensure a proper fit, you’ll need to measure the thickness of the garage door. Use the measuring tape to determine the distance between the front and back edges of the door. This measurement will help you choose the appropriate seal size for your specific door.

Step 6: Measure the gap under the garage door: To determine the length of the bottom seal needed, measure the gap between the bottom of the garage door and the floor. Place the tip of the measuring tape at one end of the gap and extend it to the other end. Make sure the tape is straight and level for accurate measurements. Write down the measurement in inches or centimeters.

Step 7: Consider additional factors: When measuring for a garage door seal, consider any potential factors that might affect the seal’s performance. For instance, if your garage floor has an uneven surface, measure the gap at several points along the bottom of the door to ensure you get the most accurate average measurement.

Step 8: Choose the right type of seal: Based on your measurements and the type of seal you need, select the appropriate garage door seal that matches your requirements. There are different materials and styles available, such as rubber, vinyl, or brush seals. Choose one that best suits your climate and garage door type.

Step 9: Verify and purchase the seal: Once you have all the measurements and have chosen the right type of seal, double-check your measurements to ensure accuracy. Take note of any specific product recommendations or guidelines provided by the seal manufacturer. Purchase the seal from a reputable supplier or retailer, ensuring it matches the dimensions you measured.

Step 10: Install the garage door seal: Follow the manufacturer’s instructions or guidelines for installing the garage door seal. Ensure a proper fit by trimming the seal to the correct length if necessary. Most seals can be installed using simple tools like scissors or a utility knife. Follow the installation steps carefully to ensure a secure and effective seal.

In conclusion, measuring a Garage Door Repair Carlsbad CA seal requires careful attention to detail and precision. By following the steps outlined in this guide, you can accurately measure your garage door seal, choose the appropriate type, and ensure a proper fit during installation. A well-installed seal will help keep your garage clean, insulated, and free from pests, contributing to a more comfortable and energy-efficient home.

Carlsbad Garage & Overhead Doors

300 Carlsbad Village Dr 108a 205, Carlsbad, CA 92008, United States

760-350-3536

The Art of Garage Door Landscaping: Enhancing the Surroundings – Highland Garage Doors & Gate

As a homeowner, I’ve always been drawn to the idea of enhancing the curb appeal of my property. While I had put effort into landscaping my front yard and garden, I realized that the garage door area was often neglected. It was then that I discovered the art of garage door landscaping, a unique way to elevate the overall look of my home.

According from Garage Door Near Me, understanding the importance of garage door landscaping, I decided to dive into this creative endeavor. With excitement, I began exploring the various ways I could transform the area around my garage door into a beautiful and welcoming entrance.

Choosing the right plants and flowers was the first step in my garage door landscaping journey. I wanted to select greenery that not only thrived in my local climate but also complemented the architecture of my home. Native plants seemed like a great option, as they would be well-adapted to the environment and require less maintenance.

To create a sense of symmetry and balance, I decided to flank my garage door with identical plantings on either side. I installed beautiful flowering arbors and trellises and trained climbing plants, such as roses and clematis, to grow along them. This added a touch of romance and charm to the entrance, making it feel warm and inviting.

As summer approached, I knew that the garage door landscape needed some adjustments. I wanted to make it more vibrant and colorful. I laid down a pathway leading to the garage door and bordered it with low-growing plants and colorful flowers. This not only guided visitors towards the entrance but also added a pop of color to the landscape.

Container gardens were another favorite addition to my garage door landscaping. I placed decorative containers on either side of the garage door, filled with blooming flowers and evergreen shrubs. This added a burst of color and versatility to the landscape, allowing me to change the plantings with the seasons.

One of the things I loved about garage door landscaping was how it softened the harsh lines of the garage door. The utilitarian appearance of the garage door was transformed as I surrounded it with lush plantings of grasses, shrubs, and flowers. Climbing vines trained to grow along the sides of the garage door added a softening effect, making the area feel more organic and natural.

Privacy and security were important considerations for me, so I planted tall shrubs and hedges around the garage door area to create a natural screen. This not only enhanced the privacy of my property but also added a sense of seclusion and tranquility.

As the seasons changed, I made sure to adjust my garage door landscape accordingly. I loved playing with different themes and designs that complemented the architectural style of my home. For my traditional-style home, I incorporated symmetrical plantings, flowering shrubs, and brick pathways, giving it a classic and elegant look.

Maintaining my garage door landscape became a satisfying routine for me. I watered the plants based on their needs, using a drip irrigation system to conserve water. Regular pruning and trimming kept the plants in shape and encouraged healthy growth. Applying mulch around the plants not only improved soil health but also added a polished look to the landscape.

In summary, as per Garage Door Near Me, garage door landscaping has become an enjoyable and rewarding aspect of my home improvement journey. It has allowed me to create a beautiful and inviting entrance that complements the overall aesthetics of my home. I take pride in knowing that every time someone approaches my front door, they are greeted by the charm and beauty of my thoughtfully designed garage door landscape. The art of garage door landscaping has truly transformed my property, making it a unique and welcoming place to call home.

Highland Garage Doors & Gate

28355 Base Line St, Highland, CA 92346, United States

909-315-4678

Modernizing Your Garage Door: Adding High-Tech Features to Older Doors – Newport Beach Garage Doors & Gate

As a homeowner with an older garage door, I’ve been eager to bring it into the modern age by adding high-tech features. The idea of enhancing convenience, improving security, and potentially saving on energy consumption through smart upgrades sounded appealing to me. While investing in a brand-new garage door with all the latest technology was an option, I wanted to explore more budget-friendly alternatives that would still provide the same benefits. In this journey of modernizing my garage door,

I’ll share the steps I took from Garage Door Near Me to add high-tech features, the advantages of these upgrades, and how they’ve transformed my garage into a smarter and more efficient space.

Understanding the Advantages of High-Tech Garage Door Features

I was drawn to the idea of upgrading my garage door with high-tech features due to the many advantages they offer. Firstly, the enhanced convenience of remotely controlling my garage door without the need for traditional keys or remotes seemed very appealing. I envisioned being able to open and close the garage door from the comfort of my car or even from inside my home. Secondly, the added security that smart features could provide was a major factor in my decision. The thought of having robust protection against unauthorized access and intrusions gave me peace of mind, especially when I’m away from home. Lastly, the potential for energy efficiency was also a significant benefit. I realized that with smart controls, I could better manage the garage door’s energy consumption and potentially save on utility bills.

Assessing Compatibility with My Older Garage Door

Before diving into the world of high-tech garage door features, I needed to assess whether my older garage door was compatible with these upgrades. Understanding the type and material of my garage door was essential in determining what features would work best. Additionally, I had to ensure that my garage door was in good condition and up-to-date with its maintenance to avoid any complications during the installation process.

Exploring High-Tech Garage Door Features and Upgrades

I began researching various high-tech features and upgrades that I could add to my garage door. One of the most crucial components I wanted was a smart garage door opener. This opener would allow me to operate the garage door remotely and even monitor its status in real-time. I was thrilled by the idea of using my smartphone to open and close the garage door, no matter where I was. The convenience this offered was unmatched, and I couldn’t wait to implement it.

Choosing the Right Smart Garage Door Opener

Selecting the right smart garage door opener for my specific garage door was vital. I wanted to ensure that it would be compatible with the weight and type of my older door. After careful consideration and reading reviews, I found the perfect smart garage door opener that met my requirements and would work seamlessly with my existing setup.

Professional Installation for a Seamless Upgrade

To ensure a seamless installation and integration of the smart garage door opener, I decided to seek professional assistance. I wanted everything to work flawlessly and avoid any potential issues that could arise from DIY installation. The professionals knew exactly how to set up the smart opener, link it to my home network, and configure Wi-Fi connectivity, so I didn’t have to worry about a thing.

Enjoying the Convenience of Smartphone App Integration and Voice Control

Once the smart garage door opener was installed, I downloaded the manufacturer’s smartphone app, which allowed me to control the garage door remotely. I was amazed at how easy and convenient it was to open and close the garage door with just a few taps on my phone. Additionally, I integrated voice control capabilities with my smart home system, allowing me to operate the garage door using simple voice commands. The hands-free operation was a game-changer, especially when my hands were full, or I was in a rush.

Enhancing Security with Garage Door Camera and Sensor

In addition to the smart garage door opener, I decided to further enhance security by adding a garage door camera and sensor. The camera provided visual monitoring and security alerts for any activity around the garage area. It gave me a sense of comfort, knowing that I could keep an eye on my garage even when I was away from home. The sensor, on the other hand, detected any obstructions during door operation, ensuring that the garage door would stop and reverse if it encountered an obstacle. This added layer of safety was important, especially if someone or something accidentally got in the way of the closing door.

Keeping Up with Regular Maintenance and Troubleshooting

With all the high-tech features in place, I understood the importance of regular maintenance to keep everything running smoothly. I made sure to follow the manufacturer’s recommendations for maintenance tasks and checkups. Additionally, I familiarized myself with common troubleshooting steps for any technical issues that might arise. Having a basic understanding of troubleshooting allowed me to resolve minor issues promptly, ensuring that my smart garage door remained in optimal condition.

Looking Towards the Future of High-Tech Garage Doors

I am excited about the future of high-tech garage doors and how technology will continue to advance. I plan to stay informed about emerging technologies and upgrades that may be compatible with my smart garage door opener. Additionally, I am interested in integrating my smart garage door with other smart home systems to create a more connected living experience. The possibilities seem endless, and I can’t wait to explore new features and enhancements as they become available.

In summary, based from Garage Door Near Me, modernizing my older garage door by adding high-tech features has been a game-changer for me as a homeowner. The enhanced convenience, improved security, and potential energy savings have made my garage a smarter and more efficient space. By researching compatible features, choosing the right smart garage door opener, seeking professional installation, and integrating smartphone apps and voice control, I was able to transform my garage door into a high-tech marvel. The addition of a garage door camera and sensor further enhanced security and safety. Regular maintenance and troubleshooting have ensured that my smart garage door continues to operate seamlessly. Looking ahead, I am eager to embrace future advancements in technology and explore ways to integrate my smart garage door with other smart home systems. Modernizing my garage door has been a fulfilling journey, and I encourage other homeowners with older garage doors to embark on a similar path to enjoy the benefits of a smarter, more connected home.

Newport Beach Garage Doors & Gate

308 Marine Ave, Newport Beach, CA 92662, United States

949-776-9845

My Journey with Overhead Garage Doors: A Fusion of Style and Functionality – Rancho Park Garage & Overhead Doors

Throughout my career as a homeowner and garage enthusiast, I’ve come to realize the tremendous value of overhead garage doors. As a fundamental feature of my property, these doors have not only added to the curb appeal of my home but have also provided a sense of safety and convenience. Join me on this journey as I explore the world of overhead garage doors, from their construction and advantages to customization options and practical maintenance tips.

Discover how these versatile doors have transformed my garage space into an inviting and functional area that perfectly complements my lifestyle as stated from Garage Door Near Me.

Section 1: Understanding the Anatomy of Overhead Garage Doors

In my quest to fully grasp the potential of overhead garage doors, I delved into their construction and essential components.

1.1. Exploring Panel Materials and Designs The vast array of panel materials, including steel, aluminum, and wood, has opened up exciting possibilities for both strength and style. I learned how different designs can effortlessly complement the architecture of any home.

1.2. Navigating the Track System and Rollers Understanding the role of the track system and rollers helped me appreciate the smooth and reliable operation of my overhead garage door.

1.3. Unraveling the Mystery of Spring Mechanisms I discovered the mechanics behind the spring system, which plays a pivotal role in counterbalancing the door’s weight, enabling effortless manual operation and compatibility with garage door openers.

Section 2: Embracing the Advantages of Overhead Garage Doors

As I continued my exploration, I became increasingly aware of the multitude of benefits that overhead garage doors offer.

2.1. Space-Saving Vertical Operation The vertical operation of overhead garage doors was a game-changer for me. I marveled at how much space it saved, allowing for more parking space and additional storage options.

2.2. Enhanced Security Features The advanced security features, such as robust locking systems and remote monitoring technology, gave me peace of mind, knowing my home was well-protected.

2.3. Energy Efficiency and Insulation Discovering the insulation capabilities of overhead garage doors opened my eyes to the potential for energy efficiency. My garage became a more comfortable and temperate space throughout the year.

Section 3: Personalizing Style with Customization Options

I found great joy in exploring the diverse customization options that allowed me to put my unique stamp on my overhead garage door.

3.1. Playing with Color and Finish Choices The vast range of colors and finishes was a delightful discovery. I could now match my garage door to my home’s exterior or create a bold statement piece that stood out.

3.2. Adding Elegance with Window and Decorative Inserts The selection of window designs and decorative inserts enabled me to infuse elegance and personality into my garage door.

3.3. Elevating Aesthetics with Hardware and Accessories By incorporating stylish handles, hinges, and decorative accents, I elevated the overall appearance of my overhead garage door.

Section 4: Unveiling the Secret to Longevity: Proper Maintenance

To ensure my overhead garage door continued to perform optimally, I embraced a regular maintenance routine.

4.1. Keeping It Clean and Pristine I discovered the importance of regular cleaning and washing, which not only kept my door looking new but also prevented the buildup of debris.

4.2. Smooth Operation: Lubrication and Hardware Checks By lubricating moving parts and conducting routine hardware checks, I ensured smooth and friction-free operation.

4.3. Weatherproofing and Sealing for Protection Weatherproofing and sealing my overhead garage door shielded it from the elements, extending its lifespan significantly.

Section 5: Transforming My Garage Space

My journey with overhead garage doors did not end with installation and maintenance; it extended to transforming my garage space into a functional and inviting area.

5.1. Organized Storage Solutions I was thrilled to discover creative storage solutions that allowed me to declutter my garage, creating a well-organized and efficient space.

5.2. The Versatility of a Workshop and Hobby Area By converting my garage into a workshop and hobby area, complete with workbenches and proper lighting, I found a haven for my creative pursuits.

In summary, based from Garage Door Near Me and my experience with overhead garage doors has been nothing short of transformative. From their sturdy construction and endless customization options to their energy-efficient features and enhanced security, these doors have become an integral part of my home. By embracing a regular maintenance routine and exploring the full potential of my garage space, I have not only added value to my property but also enhanced my daily life with the convenience and comfort these doors provide. Overhead garage doors truly embody the perfect blend of strength, style, and security, making them an essential investment for any homeowner seeking to elevate their living space.

Rancho Park Garage & Overhead Doors

2522 Aiken Ave, Los Angeles, CA 90064, United States

213-238-6483

How To Close A Garage Door That Is Stuck – Tarrant County Door & Gate

A stuck Garage Door Repair North Richland Hills TX can be frustrating and inconvenient, preventing you from accessing your vehicle or stored items. There could be various reasons why the door gets stuck, ranging from minor obstructions to more complex mechanical issues.

In this comprehensive guide, we will walk you through step-by-step instructions on how to troubleshoot and fix a stuck garage door safely and efficiently. Remember to exercise caution and follow these instructions carefully to avoid any injuries or damage to the door.

Section 1: Preliminary Checks Before attempting any repairs, take a few minutes to conduct some preliminary checks to identify the cause of the stuck garage door. Follow these steps: 1.1: Check the Power: Ensure the garage door opener is receiving power. Check the electrical connections and verify that the circuit breaker is not tripped. 1.2: Inspect the Remote: Check if the remote control batteries need replacement. Try using the wall-mounted switch to see if the issue is isolated to the remote. 1.3: Look for Obstructions: Inspect the garage door’s tracks and rollers for any debris, dirt, or objects that may be hindering smooth movement. 1.4: Check the Safety Sensors: Garage doors have safety sensors on either side of the tracks. Ensure they are clean, properly aligned, and not obstructed.

Section 2: Manual Operation If the preliminary checks don’t resolve the issue, it’s time to attempt manual operation to disengage the door from the opener. Follow these steps: 2.1: Find the Release Cord: Locate the emergency release cord hanging from the garage door opener. It is usually a red rope or handle. 2.2: Pull the Release Cord: Gently pull the release cord to disengage the door from the automatic opener. This allows you to operate the door manually. 2.3: Lift the Door: With caution, lift the garage door manually using both hands. It might require some effort, especially if the door is heavy. 2.4: Secure the Door: Prop the door open securely using a sturdy object to prevent it from falling unexpectedly.

Section 3: Lubrication and Maintenance Lack of proper lubrication or general maintenance can lead to a garage door getting stuck. Follow these steps to lubricate and maintain the door: 3.1: Clean the Tracks: Use a cloth to wipe down the tracks and remove any dirt or debris. Be sure to clear both the vertical and horizontal tracks. 3.2: Apply Lubricant: Use a silicone-based lubricant or garage door lubricant spray to coat the tracks, rollers, hinges, and springs. Avoid using WD-40 or grease as they can attract more dirt. 3.3: Tighten Loose Hardware: Check for loose screws, bolts, and nuts on the door and the tracks. Tighten them to ensure smooth operation. 3.4: Check the Springs: Examine the torsion or extension springs for signs of wear or damage. If you notice any issues, seek professional assistance as springs can be dangerous to handle.

Section 4: Adjusting the Door Alignment A misaligned garage door can cause it to get stuck. To correct the alignment, follow these steps: 4.1: Disconnect the Opener: Ensure the garage door opener is disconnected from power to prevent accidental activation during adjustments. 4.2: Level the Tracks: Use a level to check the alignment of the vertical tracks on both sides of the door. If they are not plumb, loosen the mounting brackets and adjust the tracks until they are straight. Then, retighten the brackets. 4.3: Adjust Horizontal Tracks: Ensure the tracks are parallel to each other and slightly slant towards the rear of the garage. This allows the rollers to move smoothly. 4.4: Align the Rollers: Check the rollers and ensure they are sitting properly in the tracks. Adjust any misaligned rollers by loosening the mounting brackets and repositioning them. 4.5: Verify Balance: Close the door and check if it stays in place when partially open. If one side sags or the door doesn’t stay put, the springs might be imbalanced, and professional adjustment is necessary.

Section 5: Spring Replacement Garage door springs bear significant tension, and attempting to replace them without proper knowledge and tools can be dangerous. If you suspect a spring issue, seek professional assistance.

Conclusion:

By following these troubleshooting and repair steps, you can fix a stuck Garage Door Repair North Richland Hills TX and restore its smooth operation. Regular maintenance, lubrication, and prompt addressing of minor issues can help prevent future problems. However, when dealing with complex mechanical issues or spring-related problems, it is best to contact a trained professional for safe and efficient resolution.

Tarrant County Door & Gate

6408 Marlette Ct, North Richland Hills, TX 76182, Estados Unidos

817-456-2958

Garage Door Styles for Modern Farmhouse Homes: Combining Rustic and Contemporary Elements – Del Cerro Garage & Overhead Doors

As a homeowner with a passion for modern farmhouse design, I have thoroughly enjoyed the process of selecting the perfect garage door style to complement my home’s exterior. Embracing the warmth and charm of traditional farmhouses while incorporating contemporary elements has been a delightful journey. My garage door has become a focal point of the overall design, adding to the curb appeal and creating a cohesive and inviting facade.

According to the Garage Door Near Me, one of the first garage door styles that caught my eye was the classic carriage house doors. The charm of these doors, with their horizontal panels and decorative hardware, instantly reminded me of traditional barn-style doors. The crossbucks and rustic details perfectly aligned with the farmhouse aesthetic I wanted to achieve. These carriage house doors truly captured the essence of a modern farmhouse.

While exploring various options, I couldn’t resist the allure of rustic wood overlay garage doors. The natural beauty of wood and its visible grain added a touch of authenticity and warmth to the exterior. The distressed finish provided a weathered look that perfectly complemented the neutral color palette of my home. These doors blended seamlessly with the natural materials used in the exterior design, creating a cohesive and welcoming look.

To introduce contemporary elements into the design, I considered flush panel garage doors with clean lines and smooth surfaces. The simplicity of these doors provided a sophisticated and modern touch while still maintaining the farmhouse charm. Opting for doors with a wood grain texture allowed me to strike the perfect balance between rustic and contemporary elements.

Incorporating glass panels and metal accents was another aspect I wanted to explore. Large windows with black metal frames added an industrial farmhouse vibe to the garage door design. I appreciated how these elements allowed natural light to filter into the garage space, creating a bright and welcoming environment. The frosted glass provided the right amount of privacy while enhancing the overall aesthetic.

Modern barn-style garage doors caught my attention as well, as they offered a unique twist on the classic farmhouse look. The horizontal lines and sleek hardware provided a contemporary edge that appealed to my taste. These doors complemented the mixed siding materials of my home’s exterior, creating a visually appealing facade.

Being a fan of shiplap, I couldn’t resist the idea of shiplap-embossed garage doors. The recessed panels with horizontal grooves added texture and interest to the garage door, making it stand out while still fitting perfectly within the farmhouse style. It was a subtle yet impactful detail that truly elevated the overall design.

For a practical and space-saving solution, sliding garage doors were a standout choice. These doors slid horizontally along the wall, creating a seamless and efficient entrance. I opted for wooden sliding doors, which added a rustic touch and complemented the farmhouse aesthetic. The sliding mechanism was not only functional but also added a touch of uniqueness to my garage design.

In terms of color and finish, I leaned towards the neutral color palette that is characteristic of modern farmhouse homes. Shades of white, beige, and weathered wood finishes were my top choices. The weathered and distressed finishes added a vintage and time-worn appeal that aligned perfectly with the farmhouse style I envisioned.

Ultimately, my goal was to achieve a cohesive and visually appealing facade, where the garage door seamlessly blended with the rest of the exterior. Considering the materials, siding, roof, and architectural details was crucial in making the right decision. Each garage door style I explored had its own unique charm, but I wanted one that would enhance the overall curb appeal and become an integral part of the home’s design.

In conclusion, based from Garage Door Near Me, the process of choosing the ideal garage door style for my modern farmhouse home has been a rewarding experience. Carriage house doors, rustic wood overlay doors, contemporary flush panel doors, glass and metal accents, modern barn-style doors, shiplap-embossed doors, and sliding doors are all exceptional options that offer a perfect blend of rustic and contemporary elements. By considering color and finish options and ensuring that the chosen garage door style complements the overall design, I have achieved a seamless and visually appealing facade that brings my modern farmhouse vision to life. My garage door has become a statement piece that not only enhances the aesthetic appeal of my home but also adds value and charm to the entire property.

Del Cerro Garage & Overhead Doors

6210 Lambda Dr, San Diego, CA 92120, United States

619-492-3915

How To Replace My Garage Door Opener – Salado Garage Doors

A functional Garage Door Repair Salado TX opener is an essential part of any modern home, providing convenience and security. If you find that your garage door opener is malfunctioning or outdated, it may be time to replace it. Replacing a garage door opener may seem like a daunting task, but with the right tools and knowledge, you can do it yourself.

In this guide, we will walk you through the step-by-step process of replacing your garage door opener.

  1. Gather the Necessary Tools and Equipment:

Before you start the replacement process, gather all the required tools and equipment. These may include a ladder, socket wrench set, screwdriver, level, pliers, wire stripper, electrical tape, safety goggles, and the new garage door opener kit. Ensure you have read and understood the manufacturer’s instructions provided with the new opener.

  1. Turn off the Power:

Safety should always be a priority when dealing with electrical components. Start by turning off the power to the garage door opener from the circuit breaker. This will prevent any accidental electric shocks during the replacement process.

  1. Remove the Old Garage Door Opener:

With the power off, locate the mounting bracket that holds the opener to the ceiling. Use a socket wrench to loosen and remove the bolts securing the opener. Once the bracket is detached, disconnect the opener from the ceiling and carefully lower it to the ground. Be cautious, as garage door openers can be heavy.

  1. Disconnect and Remove the Existing Wiring:

Next, disconnect the wires from the old garage door opener. Label the wires to ensure you know where each one connects to the new opener. Remove any wire nuts or connectors and detach the wires from the opener completely.

  1. Install the New Garage Door Opener:

Follow the manufacturer’s instructions to install the new garage door opener. Begin by attaching the mounting bracket to the ceiling, ensuring it is level and securely fastened. Then, attach the main unit of the opener to the bracket. Carefully feed the wires through the designated openings to the back of the unit.

  1. Connect the Wires:

Refer to the labeling you made earlier to connect the wires correctly. Use wire nuts or connectors to secure the wires tightly in place. Double-check all connections to ensure they are properly fastened and insulated with electrical tape.

  1. Install Safety Sensors:

Most modern garage door openers come with safety sensors to prevent accidents. Install the safety sensors on either side of the garage door, aligning them properly. These sensors use infrared beams to detect obstructions, ensuring the door doesn’t close on any objects or people.

  1. Program the Garage Door Opener:

Once the physical installation is complete, follow the manufacturer’s instructions to program the new garage door opener. This process may involve setting up the remote control, keypad, and syncing the opener with the garage door.

  1. Test the Garage Door Opener:

Before using the garage door opener regularly, perform a thorough test to ensure it’s functioning correctly. Test both the opening and closing functions, and observe the safety sensors to ensure they respond appropriately to obstacles.

  1. Maintenance and Troubleshooting:

Regularly inspect and maintain your new garage door opener to ensure its longevity and optimal performance. Refer to the manufacturer’s guidelines for maintenance tips and troubleshooting techniques.

Conclusion:

Replacing your Garage Door Repair Salado TX opener may seem like a challenging task, but with the right preparation and careful execution, it can be accomplished successfully. By following the steps outlined in this guide, you can enjoy a fully functional and reliable garage door opener that adds convenience and security to your home. However, if you encounter any challenges or do not feel confident in handling electrical components, it’s best to seek professional assistance. Safety should always be the top priority when dealing with electrical installations.

Salado Garage Doors

229 N Main St, Salado, TX 76571, United States

1-254-345-4058

How To Make Garage Door Shine – Blue Mound Garage Door & Gate Company

A Garage Door Repair Blue Mound TX is a prominent feature of any property, and maintaining its appearance not only enhances the overall aesthetics but also reflects the pride and care taken by the homeowner. A shining garage door can elevate the curb appeal of a house and create a lasting impression on visitors and passersby. In this guide, we will explore a variety of methods, techniques, and products that can help you achieve a garage door that shines like new.

By following these steps, you can make your garage door the envy of the neighborhood!

  1. Cleaning and Washing:

The first step towards a radiant garage door is a thorough cleaning. Start by removing any cobwebs, dirt, and debris from the surface using a broom or brush. Next, wash the door using a mild detergent mixed with water and a soft sponge or cloth. Scrub gently to remove stains and stubborn dirt. Rinse the door thoroughly with water and let it dry completely before proceeding to the next step.

  1. Repair and Maintenance:

Before proceeding, check for any damages or issues that need fixing. Repair dents, scratches, and any other visible damage. Lubricate the moving parts of the garage door, such as hinges, rollers, and tracks, to ensure smooth operation and prevent squeaking noises.

  1. Sanding:

If your garage door is made of wood and has lost its shine due to wear and tear, consider sanding the surface. Start with a medium-grit sandpaper and gradually move to finer grits for a smoother finish. Sanding not only removes imperfections but also prepares the surface for the application of sealants or paint.

  1. Applying Sealant:

Sealants protect the garage door from weather elements and UV rays, preventing fading and cracking. Choose a high-quality sealant suitable for your garage door material (e.g., wood, metal, or fiberglass). Apply the sealant evenly using a paintbrush or roller. Allow the sealant to dry completely before moving on to the next step.

  1. Painting:

For metal and wooden garage doors, painting is an excellent way to achieve a polished appearance. Choose a paint color that complements your house’s exterior and opt for outdoor-grade paint. Ensure the surface is clean and free from dust before applying the paint. Use a paint sprayer or brush to create a smooth and even coat. Two coats of paint are recommended for a durable finish.

  1. Waxing:

After painting or sealing, consider applying wax to add an extra layer of protection and shine to the garage door. Automotive wax or a specialized garage door wax can be used. Apply the wax in small circular motions and buff it off with a clean cloth once it dries.

  1. Glass and Window Maintenance:

If your garage door has windows or glass panels, clean them separately using a glass cleaner to ensure they sparkle. Check for any cracked or damaged glass and replace it as needed.

  1. Regular Cleaning Schedule:

To maintain the shine of your garage door, establish a regular cleaning schedule. Aim to clean it at least twice a year or more frequently if you live in an area with harsh weather conditions or high pollution levels.

  1. Outdoor Lighting:

Consider installing outdoor lighting fixtures near your garage door to enhance its visibility during the evening hours. Well-placed lights can further accentuate the shine of the door, creating a warm and welcoming ambiance.

Conclusion:

A brilliantly shining Garage Door Repair Blue Mound TX can significantly improve the overall look of your property. By following the steps mentioned above, from thorough cleaning to regular maintenance, you can achieve an impressive and captivating garage door. Remember that proper care and attention will not only make your garage door shine but also extend its lifespan, making it a valuable investment for years to come.

Blue Mound Garage Door & Gate Company

1609 Tyson St #5, Blue Mound, TX 76131

817-631-5688

Page 1 of 6

Powered by WordPress & Theme by Anders Norén