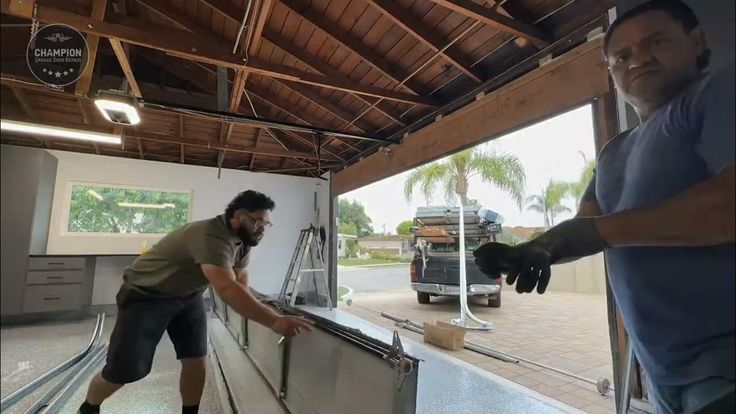
Garage Door Repair Missouri USA Whether you’re replacing a worn-out seal or making modifications to your garage door, here’s a detailed guide on how to remove a garage door seal:

- Assess the Type of Seal: Garage door seals come in various types, including bottom seals, weatherstripping, and threshold seals. Before starting, identify the type of seal you’re dealing with, as removal methods may vary.
- Gather the Necessary Tools: You’ll need a few tools to remove the garage door seal effectively. These may include a utility knife or scissors, pliers, a pry bar or flathead screwdriver, and potentially a heat gun or hairdryer for stubborn adhesive.
- Prepare the Area: Park your vehicle outside the garage and ensure there’s ample space to work. If there are any obstacles near the garage door, move them out of the way to prevent interference.
- Inspect the Seal: Take a close look at the seal to determine how it’s attached to the garage door. Some seals are held in place with screws, while others may be secured with adhesive or a combination of both.
- Release Adhesive Bonds: If the seal is attached with adhesive, start by gently peeling back one end using your fingers or a flathead screwdriver. Apply heat from a heat gun or hairdryer to soften the adhesive, making it easier to remove. Work slowly and methodically to avoid damaging the seal or the door surface.
- Remove Screws (if applicable): For seals secured with screws, use a screwdriver to remove them carefully. Keep track of the screws and set them aside in a safe place for reinstallation later.
- Detach the Seal: Once the adhesive or screws have been loosened, continue to peel back or lift the seal away from the garage door. Use pliers or a pry bar to help separate the seal from the door if needed. Take care not to damage the door surface during removal.
- Dispose of the Old Seal: Dispose of the old seal properly according to your local waste disposal regulations. If the seal is in good condition, consider recycling it or donating it to someone in need.
- Clean the Surface: After removing the seal, use a mild detergent and water solution to clean the surface of the garage door where the seal was attached. Remove any remaining adhesive residue or debris using a solvent appropriate for the door material.
- Inspect for Damage: Take this opportunity to inspect the garage door for any signs of damage or wear that may require repair or maintenance. Address any issues before installing a new seal.
- Prepare for Replacement (if necessary): If you plan to replace the seal, measure the length of the door opening and choose a replacement seal that matches the dimensions and type of the original seal.
- Reinstall or Replace the Seal (optional): If you’re replacing the seal, follow the manufacturer’s instructions to install the new seal properly. Ensure that it provides a tight seal along the bottom of the door to keep out drafts, water, and pests.
- Test the Door: After removing the seal and completing any necessary replacements or repairs, test the garage door to ensure that it operates smoothly and that the new seal provides an effective barrier.
- Maintain the Seal: Regular maintenance of the garage door seal is essential to ensure its longevity and effectiveness. Keep the seal clean and free of debris, and inspect it periodically for signs of wear or damage that may require attention.
Garage Door Repair Missouri USA Always work carefully to avoid damaging the door or surrounding areas, and prioritize safety throughout the removal process.
Team Taylor Doors
210 SW Market St Suite 144, Lee’s Summit, MO 64063, United States
1-816-408-6999

Leave a Reply