Local Services in Texas

Month: February 2023

How to Fix Garage Door-Garage Door Experts of Azle

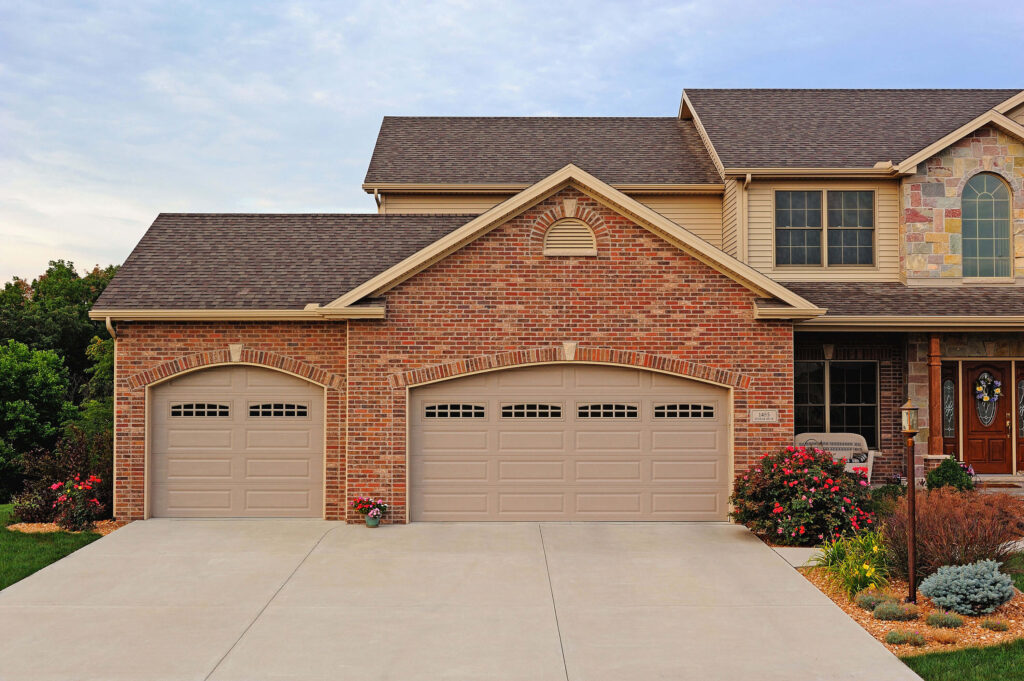
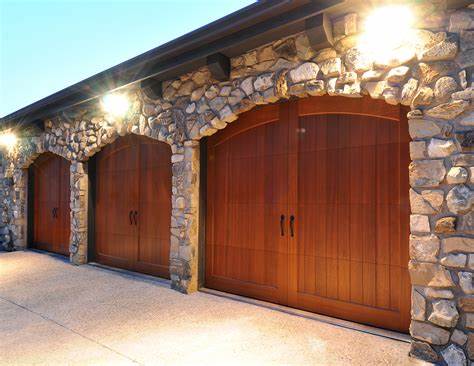
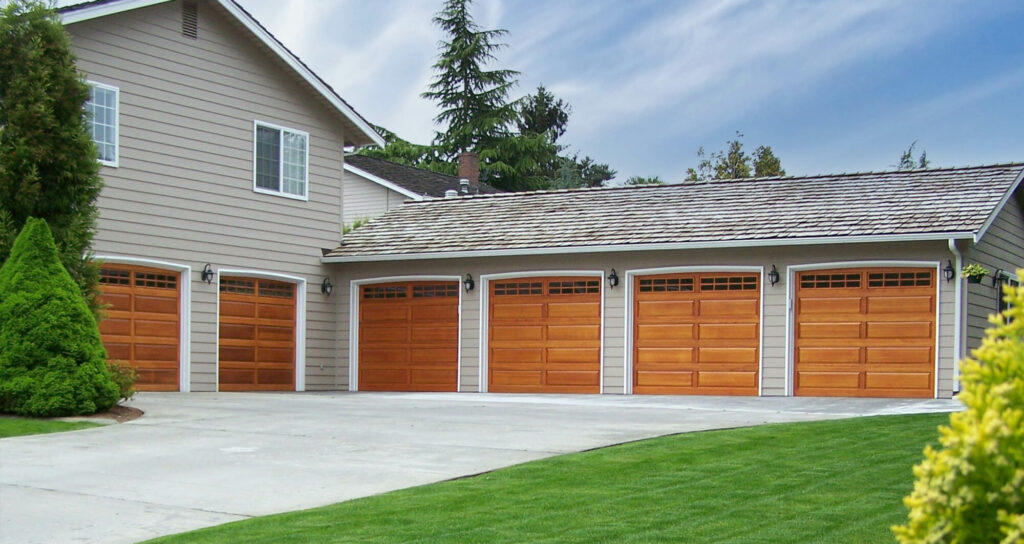
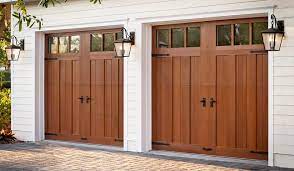
Fixing a garage door can be a daunting task, but it’s possible to do it yourself if you have the right tools and some basic knowledge of how the door works.

I recently had to fix my own Garage Door Repair Azle TX, so I’d be happy to share my experience and some tips with you.

Step 1: Inspect the Door The first step is to inspect the door and identify any issues. Start by examining the tracks, springs, cables, and rollers for any signs of damage, wear, or misalignment. If you notice any issues, make note of them and proceed to the next step.

Step 2: Identify the Problem Once you’ve inspected the door, you need to identify the specific problem. Is the door not opening or closing? Is it making strange noises or moving too slowly? Is it off track or wobbling? Depending on the issue, the repair method will differ.

Step 3: Gather Materials and Tools After identifying the problem, gather the necessary materials and tools to make the repair. Common materials include lubricant, replacement parts, and cleaning supplies. Common tools include pliers, wrenches, screwdrivers, and a level.

Step 4: Safety First Before you start working on the garage door, it’s important to prioritize safety. Turn off the power to the door, secure it in the open position, and put on protective gear like gloves and safety glasses. If you’re unsure about how to proceed, consider calling a professional.

Step 5: Repair or Replace Components If you’ve identified the issue and have the necessary materials and tools, you can begin the repair or replacement process. Depending on the issue, this may involve tightening loose screws, adjusting the tracks, lubricating the rollers, or replacing broken springs or cables. Always follow the manufacturer’s instructions and consult a professional if you’re unsure about how to proceed.

Step 6: Test the Door After completing the repair or replacement, test the door to ensure that it’s working properly. Open and close the door several times to make sure it moves smoothly and doesn’t make any strange noises. If you notice any issues, make note of them and proceed to the next step.

Step 7: Schedule Regular Maintenance To prevent future issues with your garage door, it’s important to schedule regular maintenance. This may include lubricating moving parts, tightening loose components, and inspecting the door for signs of wear and tear. Regular maintenance can help extend the lifespan of your garage door and prevent costly repairs down the road.

In conclusion, fixing a Garage Door Repair Azle TX can be a complex and potentially dangerous task, but it’s possible to do it yourself with the right tools and knowledge. Remember to prioritize safety, identify the problem, gather the necessary materials and tools, repair or replace components as needed, test the door, and schedule regular maintenance to prevent future issues. Good luck with your repair!

Garage Door Experts of Azle

525 Commerce St #5, Azle, TX 76020, United States

1-817-518-4880

How to Program a Universal Garage Door Opener – BH Garage Door & Gate of Frisco

When I needed to program a universal garage door opener for my home, I found it to be a relatively easy process.

Here’s how I went about it as stated in Garage Door Repair Frisco TX:

First, I determined that my garage door opener had a learn button on the back of the unit. This made the programming process a bit easier since I wouldn’t have to deal with dip switches.

Next, I did some research online to find a universal garage door opener that was compatible with my particular opener. I was able to find a compatibility chart that made it easy to choose the right remote.

Once I had the universal remote in hand, I followed the simple steps outlined in the instructions to program it. I held down the learn button on the back of the garage door opener until the light next to it turned on, then held down the button on the universal remote that I wanted to program. After a few seconds, the light on the garage door opener blinked, indicating that the programming was successful.

I tested the remote by pressing the button I just programmed, and sure enough, the garage door opened and closed smoothly.

Finally, I repeated the process for each additional remote that I wanted to program, which was just as easy as programming the first one.

Overall, as stated in Garage Door Repair Frisco TX, programming a universal garage door opener was a simple and straightforward process that I was able to complete in just a few minutes. Now I enjoy the convenience of being able to open and close my garage door from my car or anywhere else in my home.

BH Garage Door & Gate of Frisco

4350 Main St Suite 160, Frisco, TX 75034

972-366-4079

How Much Does a New Garage Door Cost? – Plano East Garage Door

If you’re in the market for a new garage door, you’re probably wondering how much it’s going to cost you. I know I was when I was in the same position. There are many factors that can affect the price of a new garage door, so it can be difficult to estimate the cost. However, in this guide based from Garage Door Repair Plano TX, I will attempt to provide you with a general idea of the cost of a new garage door, along with some of the factors that can influence the final price.

The first thing to consider when determining the cost of a new garage door is the type of door you want. When I was looking for a new garage door, I found that there were several types available, including sectional, roll-up, side-hinged, and tilt-up. After doing some research, I found that sectional garage doors were the most common type and were typically made of steel or aluminum. Roll-up doors were similar to sectional doors but made of thinner material and rolled up into a cylinder above the door opening. Side-hinged doors swung outwards like a traditional door and were typically made of wood. Tilt-up doors were less common and made of a single panel that tilted up and slid into the ceiling.

The cost of a new garage door will depend on the type of door you choose. I found that sectional garage doors were the most affordable, with prices ranging from around $400 to $3,500 or more. Roll-up doors were slightly more expensive, with prices ranging from around $800 to $4,000 or more. Side-hinged doors were typically the most expensive, with prices ranging from around $1,500 to $5,000 or more. Tilt-up doors were also expensive, with prices ranging from around $1,500 to $4,000 or more.

Another factor that can influence the cost of a new garage door is the size of the door. When I was shopping for a new garage door, I found that standard sizes were readily available. However, if you have a non-standard sized opening, you may need to have a custom door made. Custom doors can be significantly more expensive than standard doors, with prices ranging from around $1,000 to $10,000 or more.

The material of the garage door can also affect the price. I found that steel and aluminum doors were the most affordable, while wood doors were typically the most expensive. The cost of a steel or aluminum door can range from around $400 to $3,000 or more, while the cost of a wood door can range from around $1,500 to $10,000 or more.

The style of the garage door can also influence the price. There are many different styles of garage doors available, including traditional, carriage house, contemporary, and more. The more elaborate the style, the more expensive the door is likely to be. Prices for garage doors with decorative windows, for example, can range from around $800 to $4,000 or more.

Installation is another cost to consider when purchasing a new garage door. The cost of installation will depend on several factors, including the size and type of door, the location of the garage, and the complexity of the installation. Installation costs can range from around $200 to $1,000 or more.

In addition to the cost of the door itself and installation, there may be additional costs to consider. For example, if you need to have the door painted or stained, this will add to the cost. You may also need to purchase additional hardware, such as hinges and handles, which can add to the cost.

To sum up, based from Garage Door Repair Plano TX the cost of a new garage door can vary widely.

Plano East Garage Door

1201 E Plano Pkwy B, Plano, TX 75074, United States

972-640-7299

How to Install Garage Door Opener – MF Solutions

I recently installed a garage door opener in my home, and I wanted to share my personal experience with the process. Overall, it was a bit challenging, but definitely doable if you have some basic handy skills and the right tools.

I’ll provide you with a step-by-step process from Garage Door Repair on how to install a garage door opener.

First, I made sure to read the manufacturer’s instructions thoroughly before starting the installation. I gathered all of the necessary tools and materials, which included a garage door opener kit, power drill, screwdriver, hammer, wrenches, level, measuring tape, pencil, safety glasses, and ladder.

The first step was to install the rail. I attached the rail to the motor unit according to the instructions, and then secured it to the ceiling using the appropriate hardware. Next, I installed the trolley, which is the mechanism that connects the rail to the garage door. I attached the trolley to the door using the appropriate hardware, making sure that it was securely fastened.

After that, I installed the motor unit. I attached it to the ceiling using the appropriate hardware and made sure that it was level and securely fastened. Then, I connected the rail and motor unit by attaching the chain according to the manufacturer’s instructions. I adjusted the tension of the chain to ensure that the door would operate smoothly.

Next, I installed the safety sensors. These are designed to prevent the door from closing if something is in the way. I mounted the sensors on each side of the door and made sure that they were level and aligned with each other.

Finally, I tested the door several times to make sure that everything was working correctly. I tested the safety features, including the auto-reverse feature and the safety sensors, to ensure that they were working properly.

Overall, by following the steps from Garage Door Repair, I was happy with the outcome of the installation. The garage door opener has made it much more convenient for me to access my garage, especially during bad weather. However, I did encounter a few challenges during the installation process, such as difficulty in aligning the safety sensors and adjusting the tension of the chain. But, I found that by taking my time and following the instructions carefully, I was able to overcome these challenges.

If you’re planning to install a garage door opener, my advice would be to take your time and read the manufacturer’s instructions carefully. Make sure that you have all the necessary tools and materials, and be patient with the process. And, if you’re unsure about any aspect of the installation, don’t hesitate to seek professional assistance. With a bit of effort and attention to detail, you can successfully install a garage door opener and enjoy the convenience and security that it provides.

MF Solutions

9118 Elmwood Dr, Niles, IL 60714, United States

224-434-1780

How to Reset Garage Door Opener – Affordable Garage Door Repairs of Indianapolis, LLC

Resetting a garage door opener can be a bit tricky if you’re not familiar with the process. The good news is that most modern garage door openers have a reset function that is fairly easy to use. In this article, we’ll take a look at how to reset a garage door opener based from Garage Door Repair Indianapolis.

The first step is to check the power source. Make sure that the opener is properly connected to a power source and that the outlet is working. I had to double-check the outlet in my garage and make sure that the opener was properly plugged in.

If the opener is connected to power but not responding to the remote control, it’s a good idea to check the batteries in the remote. Many garage door openers have a light on the opener that will blink or turn on when the remote is pressed. If the light doesn’t come on, it may be time to replace the batteries. I ended up replacing the batteries in my remote just to be safe.

Next, check the safety sensors. Many garage door openers have sensors located near the bottom of the door that are designed to stop the door from closing if there is an obstruction in its path. Make sure that the sensors are clean and not obstructed. If there is something blocking the sensors, remove it and try the opener again.

If the garage door opener is connected to power, the remote control is working, and the safety sensors are functioning properly, but the door still won’t open, it may be an issue with the door itself. Check the door to make sure that it is not locked, obstructed, or stuck. I found that my door was slightly obstructed, so I removed the obstruction and tried the opener again.

If you’ve gone through all of the above steps and the garage door opener still isn’t working properly, it’s time to try resetting it. To do this, turn off the power to the garage door opener. This can usually be done by unplugging the opener or turning off the circuit breaker that powers it.

Wait a few seconds and turn the power back on. Then, press and hold the “Learn” button on the garage door opener. This button is usually located near the antenna and may be labeled “Learn” or “Program.” While holding the “Learn” button, press and release the remote control button that you want to program. This should cause the opener to beep or flash, indicating that it has received the signal. Release the “Learn” button and test the garage door opener by using the remote control to open and close the door.

If the garage door opener is still not working properly after resetting it, it may be time to call a professional for assistance.

I hope this guide from Garage Door Repair Indianapolis was helpful and that you’re able to successfully reset your garage door opener!

Affordable Garage Door Repairs of Indianapolis, LLC

Indianapolis

317-372-5337

How to Fix a Garage Door? – Team Taylor Doors

As a homeowner, I have faced my fair share of garage door problems. From a broken spring to a malfunctioning opener, I know the frustration that comes with a garage door that won’t open or close properly.

In this guide from Garage Door Repair Kansas City, I will share my experience and knowledge on how to fix a garage door.

Before we begin, it’s important to note that garage doors can be dangerous to work on, especially if you don’t have the proper tools or knowledge. If you’re not comfortable working on your garage door, it’s best to call a professional. That being said, let’s get started.

Step 1: Inspect the Door

The first step in fixing a garage door is to inspect it for any obvious signs of damage. Check for broken springs, damaged tracks, worn-out rollers, and loose hardware. If you notice any of these issues, you’ll need to replace the damaged parts.

Step 2: Release the Emergency Release

Before you start working on your garage door, you’ll need to release the emergency release. This will allow you to manually open and close the door without the assistance of the opener. To release the emergency release, locate the red handle on the garage door opener and pull it down.

Step 3: Replace the Springs

If your garage door won’t open or close properly, it’s possible that the springs are broken. To replace the springs, you’ll need to measure the length and diameter of the old springs and purchase new ones that match those measurements. It’s important to replace both springs, even if only one is broken, as they wear out at the same rate.

To replace the springs, follow these steps:

  1. Clamp a locking pliers onto the torsion spring to prevent it from unwinding.
  2. Use a winding bar to unwind the spring from the torsion shaft.
  3. Slide the old spring off the torsion shaft and slide the new spring into place.
  4. Wind the new spring onto the torsion shaft using the winding bar.
  5. Repeat the process for the other spring.

Step 4: Replace the Rollers

If your garage door is making a lot of noise or is difficult to open and close, it’s possible that the rollers are worn out. To replace the rollers, follow these steps:

  1. Open the garage door and secure it in place with clamps.
  2. Remove the old rollers by using a wrench to loosen the bolts that hold them in place.
  3. Slide the old rollers out of the track and slide the new ones into place.
  4. Tighten the bolts to secure the new rollers in place.

Step 5: Lubricate the Moving Parts

To ensure that your garage door operates smoothly, it’s important to lubricate the moving parts on a regular basis. Use a silicone-based lubricant to lubricate the rollers, hinges, tracks, and springs. Avoid using WD-40 or other oil-based lubricants, as they can attract dust and debris.

Step 6: Adjust the Track

If your garage door is crooked or doesn’t close properly, it’s possible that the track is out of alignment. To adjust the track, follow these steps:

  1. Loosen the bolts that hold the track in place.
  2. Use a level to ensure that the track is straight.
  3. Tighten the bolts to secure the track in place.

Step 7: Test the Door

Once you’ve completed all of the above steps from Garage Door Repair Kansas City, it’s time to test your garage door. Use the opener to open and close the door, and check for any issues. If the door operates smoothly and there are no issues, you’re done.

In conclusion, fixing a garage door can be a challenging task, but it’s possible to do it yourself with the right tools and knowledge.

Team Taylor Doors

210 SW Market St Suite 144, Lee’s Summit, MO 64063, United States

816-408-6999

Why won’t my Garage Door Close? – Team Taylor Doors

As a homeowner who has experienced this issue before, I know how frustrating it can be when your garage door won’t close. There are several reasons why a garage door may not close, ranging from simple issues that you can fix on your own to more complex problems that may require the help of a professional.

Based from Garage Door Repair Kansas City, here are some possible reasons why your garage door won’t close:

  1. Obstructions in the Door’s Path

One of the most common reasons why a garage door won’t close is because there is an obstruction in the door’s path. This could be anything from a small rock or piece of debris to a larger object like a bike or lawn mower. Check the area around the door and remove any objects that may be blocking the path.

  1. Misaligned Safety Sensors

Garage doors are equipped with safety sensors that prevent the door from closing if there is an object in the path. If the sensors become misaligned, the door may not close properly. Check to make sure that the sensors are properly aligned and that there is nothing blocking the sensor’s view.

  1. Broken Springs or Cables

If the springs or cables that support the garage door are broken, the door may not close properly. This is a more serious issue that will require the help of a professional. Do not attempt to fix broken springs or cables on your own, as they can be dangerous to work with.

  1. Malfunctioning Garage Door Opener

If the garage door opener is malfunctioning, the door may not close properly. Check to make sure that the opener is properly connected to the power source and that the remote control is working properly. If the problem persists, you may need to have the opener repaired or replaced.

  1. Misaligned Tracks

If the tracks that guide the garage door become misaligned, the door may not close properly. Check the tracks to make sure that they are properly aligned and that there is nothing obstructing the tracks.

In summary, there are several reasons why a garage door may not close, refer to Garage Door Repair Kansas City, ranging from simple issues that you can fix on your own to more complex problems that may require the help of a professional. By checking for obstructions, ensuring that the safety sensors are properly aligned, and addressing more serious issues like broken springs or malfunctioning openers, you can get your garage door back to working properly and ensure the safety and security of your home.

Team Taylor Doors

210 SW Market St Suite 144, Lee’s Summit, MO 64063, United States

816-408-6999

How to Program Garage Door Opener – South Arlington Overhead & Garage Door

Please note that the steps may vary depending on the type and brand of your garage door opener, and it’s always best to consult your owner’s manual for specific instructions.

Here are some steps from Garage Door Repair South Arlington TX to program a garage door opener.

First, I would locate the “learn” or “program” button on my garage door opener and press and hold it until the light flashes or the buzzer sounds, indicating that the memory has been cleared.

Next, I would prepare my remote by finding the “learn” or “program” button on it and pressing it until the light on the remote turns on.

Then, I would hold the remote close to the garage door opener and press the button that I want to program. The light on the garage door opener should flash or the buzzer should sound, indicating that it has received the signal from the remote. I would repeat this process a few times to ensure that the code is transmitted successfully.

After programming the remote, I would test it by pressing the button to see if the garage door opens or closes. If it doesn’t work, I would repeat the programming process.

If I have multiple remotes that I want to program, I would repeat the process for each one, holding down the “learn” button on the garage door opener again to clear the memory between programming each remote.

Finally, I would test all the remotes to ensure they work correctly. If there are any issues, I would check the owner’s manual for troubleshooting tips.

In conclusion based from Garage Door Repair South Arlington TX, programming a garage door opener can be a straightforward process if you follow the manufacturer’s instructions carefully. By clearing the memory, preparing the remote, programming it, and testing it, you can ensure that your garage door opener works smoothly and reliably. If you have any difficulties, consult the owner’s manual or contact a professional for assistance.

South Arlington Overhead & Garage Door

3330 Matlock Rd #204, Arlington, TX 76015, United States

817-383-2173

How to Replace a Garage Door Spring – Garage Door Experts of North Arlington

Here’s a clear step-by-step guide from Garage Door Repair on how you will be able to replace garage door spring:

Safety is my top priority: Before I begin, I’ll make sure to take the necessary safety precautions. This includes disconnecting the power to the garage door opener, wearing gloves and safety glasses, and having someone help me with the job to hold the door in place.

Identifying the type of spring: I’ll determine what type of spring I have, either a torsion spring or an extension spring. Torsion springs are mounted above the door, while extension springs are mounted on either side of the door.

Gather my tools: I’ll gather all the tools I need, which may include a drill, socket set, adjustable wrench, pliers, and ladder.

Loosening the spring tension: For a torsion spring, I’ll loosen the spring tension by adjusting the cable drum. For an extension spring, I’ll disconnect the springs from the pulleys.

Removing the old spring: I’ll remove the old spring by using the socket set or adjustable wrench to remove the bolts that hold the spring in place. I’ll also disconnect the spring from the bracket.

Measuring the new spring: I’ll measure the length and diameter of the new spring and compare it to the old spring to make sure it’s the correct size.

Installing the new spring: I’ll install the new spring by connecting it to the bracket and tightening the bolts with the socket set or adjustable wrench.

Tightening the spring tension: For a torsion spring, I’ll tighten the spring tension by adjusting the cable drum. For an extension spring, I’ll reconnect the springs to the pulleys.

Testing the door: I’ll test the door to make sure it operates smoothly and the springs are balanced. I’ll make any necessary adjustments to ensure the door operates properly.

Storing the old spring: I’ll store the old spring safely, as it still contains tension and could be dangerous.

By following these steps from Garage Door Repair, I should be able to replace my garage door spring with ease. However, if I’m unsure about any part of the process or if I encounter any issues, I’ll seek help from a professional. Replacing a garage door spring is a complex and potentially dangerous task, so it’s important to proceed with caution and get help if needed.

Garage Door Experts of North Arlington

711 Trinity Cir, Arlington, TX 76006, United

817-383-2114

Page 2 of 2

Powered by WordPress & Theme by Anders Norén