Local Services in Texas

Tag: garage door repair richmond tx

Does Sears Install Garage Door Openers –  First Call Garage Doors


Yes, Sears offers professional installation services for Garage Door Repair Richmond TX Sears Home Services provides a wide range of home improvement and repair solutions, including garage door opener installation.

Here’s an overview of Sears’ garage door opener installation services:

  1. Expert Technicians: Sears employs experienced technicians who are trained to install various types and brands of garage door openers. These technicians have the knowledge and expertise to ensure proper installation and reliable operation of your garage door opener.
  2. Comprehensive Installation: Sears’ installation service covers every aspect of installing a garage door opener, from mounting the opener unit to programming remote controls and safety sensors. The technicians will handle all aspects of the installation process, including electrical connections and testing.
  3. Quality Products: Sears offers a selection of high-quality garage door openers from trusted brands like Craftsman, LiftMaster, and Chamberlain. These openers are known for their durability, performance, and advanced features, ensuring long-term reliability and convenience.
  4. Custom Solutions: Sears understands that every home and garage is unique, which is why their installation services are tailored to meet your specific needs and preferences. Whether you need a basic garage door opener or a model with advanced features like smartphone connectivity, Sears can provide a solution that fits your requirements.
  5. Professionalism and Convenience: When you choose Sears for your garage door opener installation, you can expect professionalism, reliability, and convenience. The technicians will arrive on time, complete the installation efficiently, and clean up after the job is done, ensuring a hassle-free experience for you.
  6. Warranty and Satisfaction Guarantee: Sears stands behind their workmanship and products, offering warranties on both parts and labor for added peace of mind. If you encounter any issues with your garage door opener after installation, Sears will address them promptly to ensure your satisfaction.
  7. Additional Services: In addition to garage door opener installation, Sears Home Services offers a range of related services, including garage door repair, maintenance, and replacement. Whether you need a minor repair or a complete garage door overhaul, Sears has you covered.

With their expertise, quality products, and commitment to customer satisfaction, Sears ensures that your new Garage Door Repair Richmond TX  is installed correctly and performs reliably for years to come.

First Call Garage Doors

20527 FM 1093 Rd Unit B205 Richmond, TX 77407

713-248-2684

https://maps.app.goo.gl/t63qb9AmNfom8KU87

Addressing Garage Door Warping: Solutions – First Call Garage Doors

As a homeowner who has grappled with the frustrating issue of garage door warping, I understand the impact it can have on both functionality and aesthetics.

In reference to Garage Door Repair, I share my journey of discovering the causes behind garage door warping and the practical solutions that not only rectified the problem but also prevented its recurrence. If you’ve ever faced the challenge of a warped garage door, this guide is your roadmap to restoring both form and function to this essential home component.

Introduction: The Unsettling Twist of Garage Door Warping

The garage door, often seen as a seamless gateway to our homes, can take an unexpected turn when warping becomes a reality. As a homeowner, the realization that my once-pristine door was succumbing to the forces of nature prompted a quest for understanding and, ultimately, solutions. In this article, I share insights into the causes of garage door warping and practical steps to address and prevent it.

1. Understanding the Causes: Unveiling the Culprits Behind Warping

Insights:

Warping occurs when the garage door material undergoes changes due to environmental factors. Exposure to fluctuating temperatures, humidity, and moisture can lead to the deformation of the door, causing it to twist, bow, or buckle.

Practical Tips:

Educate homeowners on the environmental factors that contribute to garage door warping. Emphasize the impact of direct sunlight, extreme temperatures, and moisture infiltration. Awareness is the first step toward effective prevention.

2. Moisture Management: Shielding Against the Silent Invader

Insights:

Moisture is a primary antagonist in the warping saga. It infiltrates the door material, leading to expansion and contraction, especially in wooden doors. Proper moisture management is essential to prevent warping.

Practical Tips:

Guide homeowners on sealing and weatherproofing their garage doors. This includes applying a protective finish on wooden doors, installing weatherstripping, and ensuring that the door is properly sealed at all edges. Regular inspections and maintenance routines can safeguard against moisture infiltration.

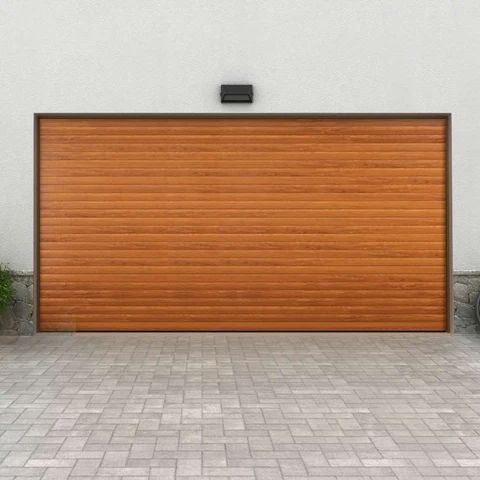
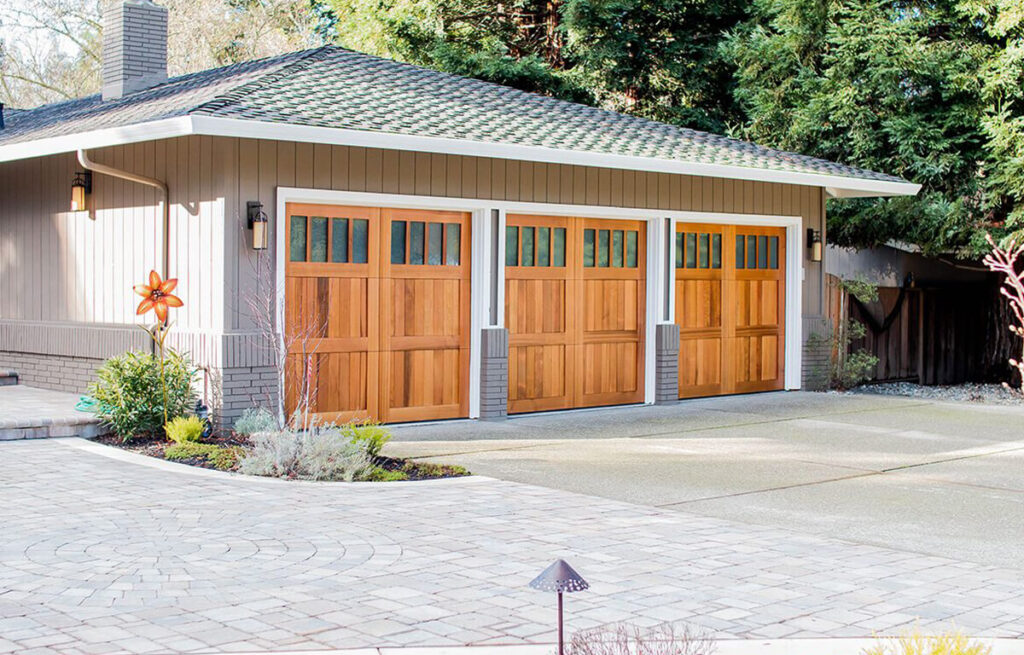
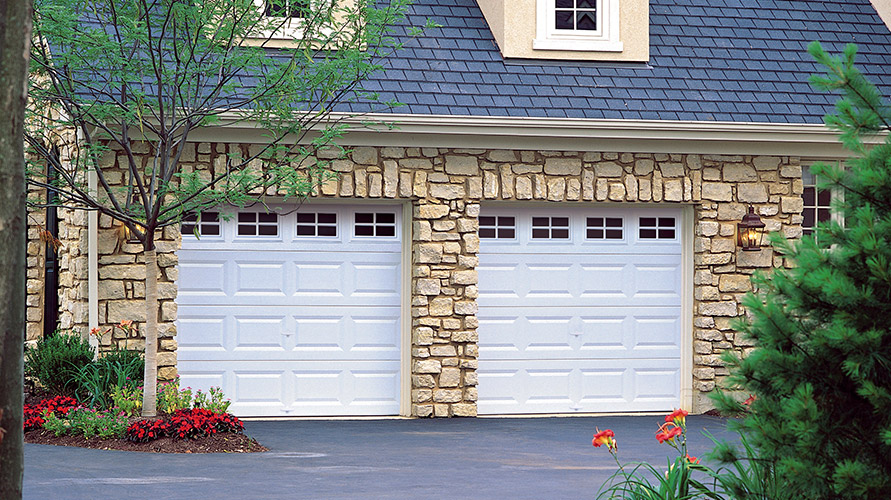
3. Material Matters: Choosing the Right Foundation

Insights:

The choice of material significantly influences a garage door’s susceptibility to warping. Wood, while aesthetically pleasing, is more prone to warping than steel or aluminum. Selecting the right material is a crucial step in prevention.

Practical Tips:

Advise homeowners to consider the climate and environmental conditions when choosing a garage door material. While wood may require more maintenance, steel and aluminum doors offer durability and resistance to warping. Matching the material to the local climate is key.

4. Regular Maintenance: Nurturing the Door’s Integrity

Insights:

Routine maintenance plays a pivotal role in preventing garage door warping. Regular inspections, cleaning, and minor repairs can address issues before they escalate and contribute to the door’s longevity.

Practical Tips:

Provide a maintenance checklist that includes inspecting for signs of warping, cleaning the door and its components, and addressing any minor damage promptly. Emphasize the importance of proactive measures in preserving the door’s structural integrity.

5. Temperature and Humidity Control: Creating a Stable Environment

Insights:

Extreme temperatures and humidity fluctuations contribute to the expansion and contraction of garage door materials, leading to warping. Creating a stable environment within the garage is essential for preventing these fluctuations.

Practical Tips:

Guide homeowners on insulating their garage to regulate temperature and humidity. This may involve adding insulation to walls and the garage door itself. Additionally, using a dehumidifier can help maintain optimal conditions, especially in regions prone to humidity.

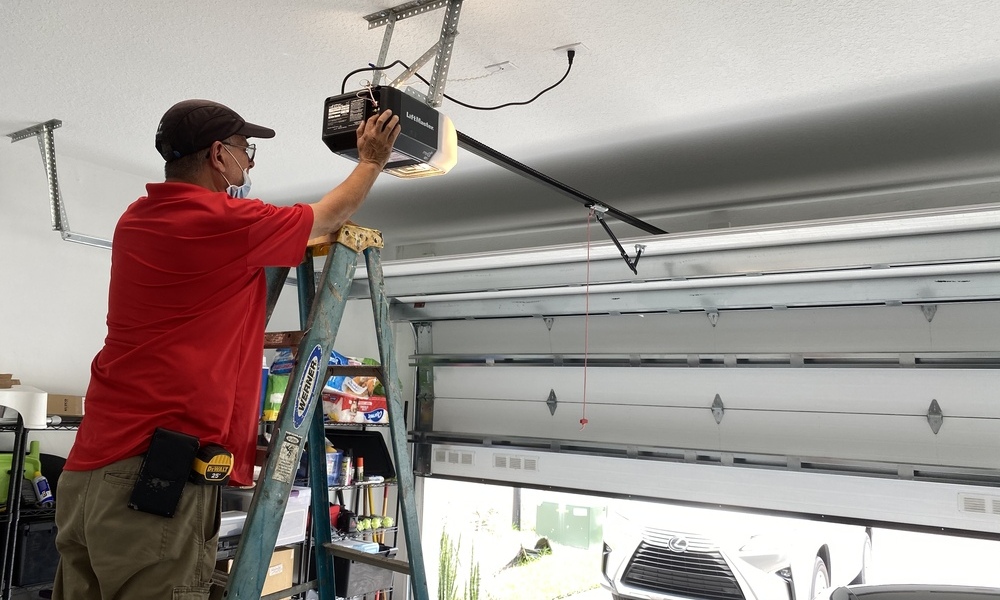
6. Professional Inspection and Repairs: Timely Intervention Matters

Insights:

Sometimes, despite our best efforts, warping may occur. In such cases, seeking professional inspection and repairs becomes crucial. Professionals can assess the extent of the warping and recommend appropriate solutions.

Practical Tips:

Encourage homeowners to schedule regular professional inspections, especially if they notice any signs of warping. Professionals can provide expert advice on repairs, adjustments, or, if necessary, replacement. Timely intervention can prevent the issue from worsening.

Conclusion: Straightening the Path Ahead

According to Garage Door Repair and addressing garage door warping is not just about fixing a problem; it’s about ensuring the continued functionality and visual appeal of an integral part of our homes. By understanding the causes, managing moisture, choosing the right materials, performing regular maintenance, controlling temperature and humidity, and seeking professional assistance when needed, homeowners can navigate the challenges of garage door warping.

In the landscape of 2023, where homeowners seek both aesthetic satisfaction and practical functionality, this guide serves as a compass for those dealing with garage door warping. By implementing these practical solutions, we can reshape the narrative, ensuring that our garage doors stand strong and true against the forces of nature. Whether you’re safeguarding a wooden door from moisture or choosing a material suited to your local climate, the path to a warp-free garage door begins with awareness and proactive measures.

First Call Garage Doors

20527 Farm to Market 1093 Unit B205, Richmond, TX 77407, United States

713-248-2684

How To Reset Password On Liftmaster Garage Door Opener – First Call Garage Doors

Resetting the password on your LiftMaster Garage Door Repair Richmond TX is essential for ensuring the security of your property.

Follow these step-by-step instructions carefully to navigate through the process successfully.

2. Preliminary Checks: Before initiating the password reset process, ensure that your garage door is closed, and there are no obstructions in its path. Additionally, identify the control panel or interface on your garage door opener where the password reset can be performed.

3. Access the Control Panel: Locate the control panel or interface on your LiftMaster garage door opener. This may be on the motor unit or a separate panel on the wall. Take a moment to identify and access this panel, as it is crucial for the password reset process.

4. Clear Existing Password: Some LiftMaster models may require clearing the existing password before setting a new one. Refer to your opener’s manual for specific instructions on how to clear the current password. This step ensures a clean slate for the new password.

5. Choose a New Password: Select a new, secure password for your garage door opener. Choose a combination of letters, numbers, and possibly symbols to enhance security. Ensure that the password is easy for you to remember but difficult for others to guess.

6. Enter the New Password: Using the control panel or interface, enter the new password following the instructions in your LiftMaster opener manual. Take care to input the characters accurately to avoid any errors during the programming process.

7. Confirm the New Password: Some LiftMaster models may require you to confirm the new password by entering it a second time. Follow the on-screen prompts or instructions in your manual to confirm the password. This step ensures that the new password is entered correctly.

8. Test the New Password: After setting the new password, perform a test by using the newly configured password to open and close the garage door. This ensures that the password reset was successful, and the door responds as expected.

9. Additional Settings (if applicable): Depending on your LiftMaster model, there may be additional settings or features related to password management. Refer to your opener’s manual for any specific instructions or settings that may enhance the security or functionality of your garage door opener.

10. Secure the Opener Manual: Safeguard your garage door opener manual in a secure and easily accessible location. The manual contains essential information about programming, troubleshooting, and maintenance. Having it readily available will be invaluable for future reference.

11. Update Additional Devices: If your garage door opener is integrated with other devices, such as smart home systems or remote controls, ensure that these devices are updated with the new password. Refer to the manuals of these devices for instructions on modifying the settings accordingly.

12. Contact LiftMaster Support (if needed): If you encounter challenges or have specific questions regarding your LiftMaster garage door opener model, do not hesitate to reach out to LiftMaster customer support. Their expertise can provide personalized assistance based on your opener’s specifications.

Conclusion:

Resetting the password on your LiftMaster Garage Door Repair Richmond TX is a crucial step in maintaining the security of your home. By following these detailed instructions, you can confidently navigate the process and ensure that your garage access remains secure and accessible only to those with the authorized password.

First Call Garage Doors

20527 Farm to Market 1093 Unit B205, Richmond, TX 77407

1-713-248-2684

How To Reprogram A Liftmaster Garage Door Opener – First Call Garage Doors

Reprogramming a LiftMaster Garage Door Repair Richmond TX is a simple yet important process that allows you to update or change the codes associated with your remotes, keypads, and other accessories.

Here’s a detailed guide with step-by-step instructions on how to reprogram a LiftMaster garage door opener:

1. Identify the Type and Model: LiftMaster offers various garage door opener models, including chain drive, belt drive, and screw drive models. Identify the specific model you have, as programming steps may vary. You can find this information in your opener’s user manual or on the motor unit itself.

2. Gather Necessary Items: Before you begin, gather the items you need for reprogramming:

  • LiftMaster garage door opener remote control, keypad, or other accessory.
  • A stable ladder if needed.
  • Your LiftMaster garage door opener user manual.

3. Locate the “Learn” Button: Every LiftMaster garage door opener has a “Learn” button on the motor unit. The location of this button may vary depending on the model, but it is typically found on the back or side of the motor unit. The Learn button is crucial for programming and reprogramming your accessories.

4. Clear Existing Codes (if necessary): If you are reprogramming a remote control or keypad, it’s a good idea to clear any existing codes from the opener’s memory. This step ensures that old codes are removed before adding new ones. To clear codes:

  • Press and hold the “Learn” button for about 6 seconds until the indicator light turns off.
  • Release the “Learn” button. The memory is now cleared.

5. Remote Control Programming: For remote control programming, follow these steps:

  • Press and release the “Learn” button on the garage door opener’s motor unit. The indicator light will illuminate.
  • Within 30 seconds, press and hold the button on the remote control that you want to program.
  • Continue holding the remote button until the opener’s light blinks or the indicator light on the opener turns off.
  • Release the remote button. The remote control is now reprogrammed.

6. Keypad Programming: For programming a keypad, follow these steps:

  • Locate the “Learn” button on the opener.
  • Press and release the “Learn” button. The indicator light will illuminate.
  • Within 30 seconds, enter the desired PIN on the keypad and press the “Enter” or “Send” button.
  • Wait for the opener’s light to blink or the indicator light to turn off.
  • Test the keypad by entering the PIN and pressing the “Enter” button. The door should open.

7. Additional Accessories: If you have additional remotes, keypads, or other accessories, repeat the programming process for each accessory. Each accessory can be reprogrammed to control the same garage door opener.

8. Wi-Fi Enabled Openers: For LiftMaster openers with Wi-Fi capabilities, consider using the MyQ app for programming and managing accessories. Download the app, create an account, and follow the in-app instructions to add and reprogram accessories.

9. Vehicle Homelink System (if applicable): If your vehicle is equipped with a Homelink system, follow these steps to reprogram it:

  • Press and hold the Homelink button in your vehicle until the indicator light flashes rapidly.
  • While the indicator light is flashing, press and hold the remote control button that you want to reprogram.
  • Wait for the indicator light to change from a rapid flash to a slow flash or stay solid. This indicates successful reprogramming.

10. Troubleshooting: If you encounter issues during the reprogramming process, consult your LiftMaster garage door opener user manual for troubleshooting guidance. Common issues may include interference from other electronic devices, low battery power, or incorrect programming sequences.

11. Periodic Checks and Maintenance: Periodically check the batteries in your remotes and keypads and replace them as needed. Inspect accessories for any signs of wear or damage, and perform any recommended maintenance to ensure reliable operation.

12. Record the Codes: For your records, document the reprogrammed codes and accessories in a secure location. This can be helpful in case you need to reference them in the future.

By following these detailed steps, you can confidently reprogram your LiftMaster Garage Door Repair Richmond TX, ensuring that your remotes, keypads, and other accessories are up-to-date and functioning correctly. Regularly updating access codes enhances the security of your garage and provides peace of mind.

First Call Garage Doors

20527 Farm to Market 1093 Unit B205, Richmond, TX 77407, United States

1-713-248-2684

How to Adjust a Garage Door – First Call Garage Doors

Adjusting a garage door is an essential maintenance task that can help ensure proper operation and extend the lifespan of the door. Whether your garage door is misaligned, making unusual noises, or not functioning smoothly, adjusting it can often resolve these issues.

To adjust a garage door, follow these steps from Garage Door Repair:

Step 1: Inspect the Door and Hardware First, I inspect the garage door and its hardware for any visible signs of damage or wear. This includes checking the tracks, bolts, rollers, and hinges. If I notice any issues, such as bent tracks or loose bolts, I address them before proceeding with the adjustments.

Step 2: Adjust the Tracks Next, I use a level to check the alignment of the tracks. If they are not plumb vertically or level horizontally, I loosen the bolts holding them in place. With gentle force, I make the necessary adjustments to align the tracks properly. Once they are aligned, I tighten the bolts securely.

Step 3: Align the Rollers I inspect the rollers to ensure they are properly seated in the track. If any of the rollers appear loose or wobbly, I tighten the bolts or screws that hold them in place. Lubricating the rollers with a silicone-based lubricant helps ensure smooth operation.

Step 4: Check and Adjust the Springs If the garage door has torsion springs, I exercise caution and consult a professional for any adjustments, as working with springs can be dangerous. However, for extension springs, I can make some adjustments myself. I carefully adjust the tension of the springs by moving the S-hook to a different hole on the track hanger, increasing or decreasing the tension as needed. I always make small adjustments and test the door’s balance before making further changes.

Step 5: Inspect and Adjust Cables and Pulleys I examine the lift cables and pulleys for any signs of fraying, wear, or damage. If I notice any issues, I replace the damaged cables. If the cables are intact but loose, I adjust the tension by tightening the adjustment bolts on the bottom brackets.

Step 6: Lubricate Moving Parts Proper lubrication is crucial for the smooth operation of a garage door. I apply a silicone-based lubricant to all moving parts, such as hinges, rollers, springs, and tracks. This helps reduce friction and ensures that the door operates smoothly.

Step 7: Test the Door’s Operation After making the necessary adjustments and lubricating the moving parts, I test the door’s operation. I open and close the door several times to check for any binding, unusual noises, or imbalances. If I notice any issues, I revisit the relevant adjustments and make further tweaks as needed.

Step 8: Seek Professional Help if Needed If I encounter any complex adjustments or if I’m unsure about any aspect of the process, I don’t hesitate to seek professional help. Garage doors can be heavy and potentially dangerous, so it’s important to prioritize safety and consult an expert when necessary.

By following these steps from Garage Door Repair and conducting regular maintenance, I can ensure that my garage door operates smoothly and remains in optimal condition. Regular inspections and adjustments help prevent problems and extend the lifespan of the door.

First Call Garage Doors

20527 FM1093 Unit B205, Richmond, TX 77407

713-248-2684

Powered by WordPress & Theme by Anders Norén