
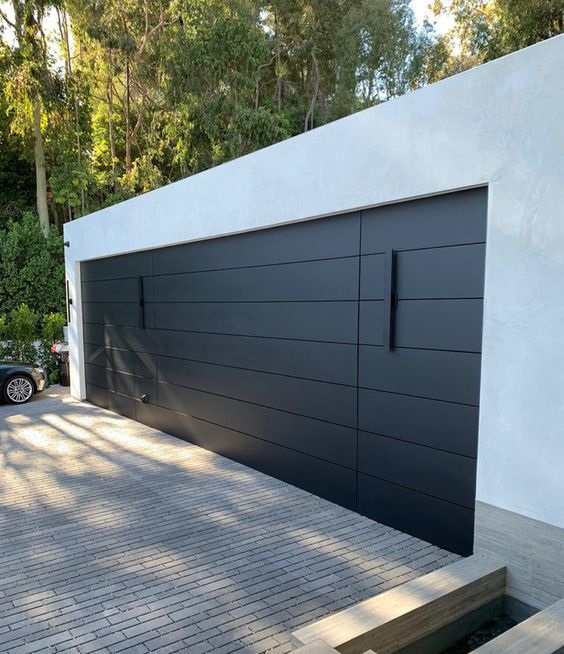
You’ve picked out the perfect garage door and are ready to put it in place. The good news is that once you’ve chosen a garage door that you like you’ve already won half of the battle. It’s now time to build the opening in your garage to be able to accommodate the newly installed garage door.
Making a frame for your garage door allows it to sit comfortably against the door opening. It also lets you join elements such as springs and tracks.
In this article, we’ll break down the procedure of framing a garage door in easy-to-follow steps according to Garage Door Repair San Antonio TX.
Step 1: Gather Supplies
You’ll need a tape measurement or pencil, a circular saw or band saw as well as some 2-by-6 inches of lumber. You could also make use of PVC garage door jambs in place of wood. It is necessary to double the ceiling of your garage and also double the height on both sides of your opening. Also, you’ll require lumber to run the length of the header as well as the distance between the ceiling and the header.
You’ll need to decide on the material you will choose for the jambs prior to taking into account the dimensions of the garage door’s final opening. A lot of frames are made from wood, but you could select a PVC jamb for your door. The thickness you choose will determine how large the garage’s opening will be after you’ve put the frames in place.
Step 2: Measure the Garage Door Rough Opening
Before you begin framing, the opening should be bigger in comparison to the door you’ve selected. It should be a good idea to make sure that the distance between your floor and the rough head needs to be at least one and a half inches greater than the new garage door’s width. In the case of a standard garage door that is seven feet tall, the header should not be more than eight and a half inches over the floor that is finished.
The header should be 9 inches longer than the doors. The width of the rough opening should be three inches greater than the door, as measured between the right and left edges. For a 12-foot wide garage door, the opening rough will have a width of 15 inches.
Step 3: Install the Head Jamb
Door jambs are planks of wood on each side of an opening as well as the header above. Door installers may call the jambs on each side of the door “side jambs,” and one above is the “head jamb.”
It is essential to put in an initial head jamb to ensure that the side jambs rest on it in a flush position. The header should be measured to fit the opening in the horizontal direction of the garage. This is approximately the same length as the door to the garage and nine inches. The header’s thickness will be sufficient to cover the gap between the opening rough and the width of the garage door.
Step 4: Measure Your Floor-To-Ceiling Height
There will be two pieces of framing to the wall of your garage, next to the opening. The frames will join the tracks of your garage door onto the wall. You may be told that this frame is known as a “goal post” by your garage door installer. The jambs are designed to fit the width of your garage from floor to ceiling.
After you’ve determined the length you want to cut, two pieces of wood at the same height.
Step 5: Attach Your Goal Post
Use framing nails for attaching the two parts of the goalpost to the inside of the garage wall. It is recommended to place them on the head jamb that you put in during step three.
Step 6: Install the Side Jambs
Make two pieces of lumber or door jambs of PVC according to the new height of your door. The side jambs should be below the head of the jamb that you’ve already put in. The jambs must be at the exact height of your garage door, minus 1/4 inch, which means they won’t completely touch the ground. Attach the door jambs with framing nails.
Step 7: Attach the Center Bracket Framing
Take note of the distance from and the top edge of the head that you’ve put up to the ceiling. Cut a piece of wood to this length and place it over the header. The garage door technician will utilize this piece of framing to connect the central bracket of the spring system for your garage door.
In summary, as stated in Garage Door Repair San Antonio TX, it is important to comprehend the difference between the opening is rough and the final opening. In the garage door installation industry we define “the “rough opening or the “rough framing” as the dimension of the opening prior to the framing that is finished is put in place. It should also be slightly bigger than the dimensions of your garage door to allow enough space for the framing.
Right On Time Garage Doors
San Antonio
210-383-4422